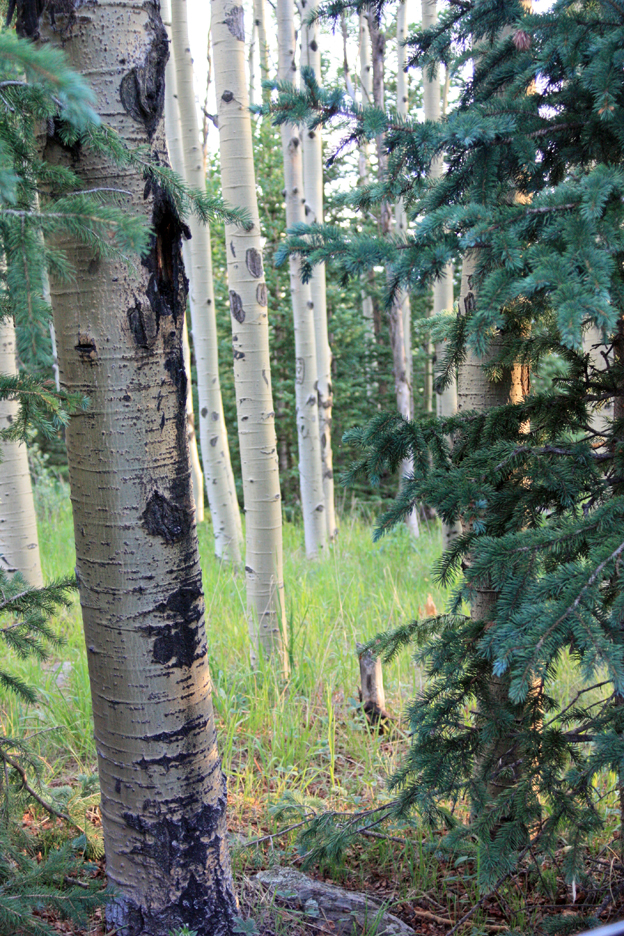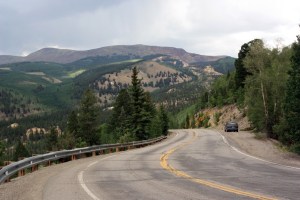
Parked along the switchbacks from Slumgullion Pass
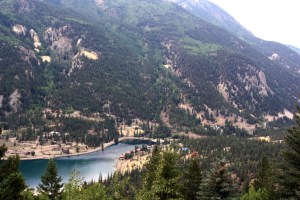
I came to Lake City from the south along Highway 149, driving from Creede along the headwaters of the Rio Grande River over the Continental Divide at Spring Creek Pass (10,901 feet). After staying on the high plateau, the road climbs again to Slumgullion Pass at 11,361 feet. It then descends toward Lake City, taking a series of dramatic switchbacks. At one hairpin turn, there is a nice overlook of Lake San Cristobal and Lake City. I stopped to look at the interpretive signs and take a few photos.
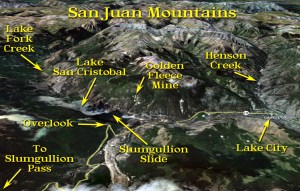
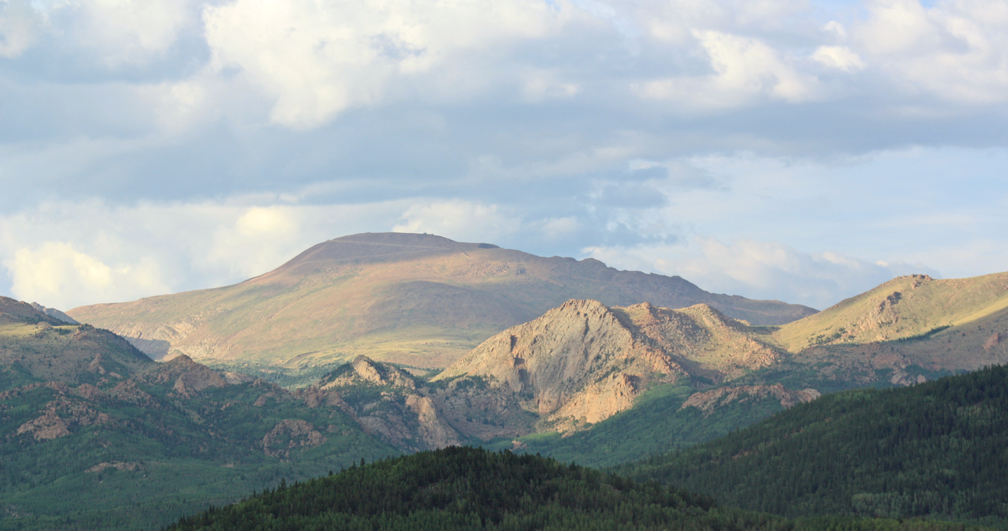
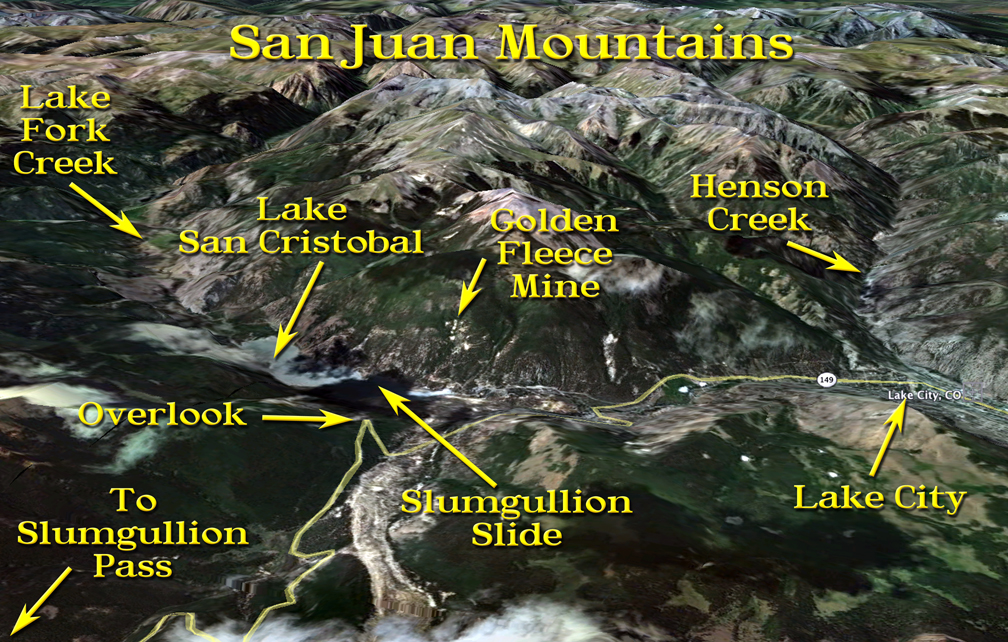
The San Juan Mountains of Southwestern Colorado
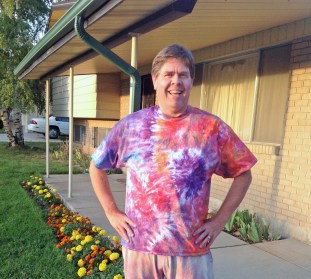
I parked along the old main street of town and found a nice old-fashioned soda fountain, the San Juan Soda Company, in a store next to the historic Miners and Merchants Bank. I had a tasty mint chocolate chip shake, which really hit the spot. I asked for directions and drove northeast out of town up Henson Canyon about two miles in a slight drizzling rain for the Hard Tack Mine.
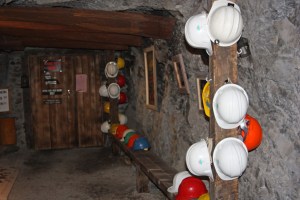
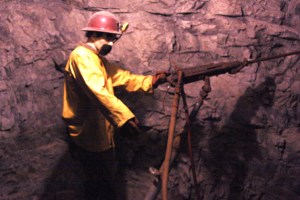
Entrance to the Hard Tack Mine near Lake City, Colorado
As I always do, I asked the tour guide if I could videotape the tour, and he told me to check with the owner, who was in the main office next to the mine entrance. She was afraid that I would show their tour to “the competition” and refused to let me videotape it, although she said that photographs were allowed. I tried to assure her that my reporting should help business, but she wasn’t convinced. At least this would give me a chance to take more photographs. As things turned out, I’m glad I didn’t tape the tour. The guide was fairly new, having only done this about two months. He was from out of state, and was unable to answer questions about the types of minerals found here or how mining began around Lake City (which you would think would be standard background any guide would know). Hopefully he’s done more homework since.
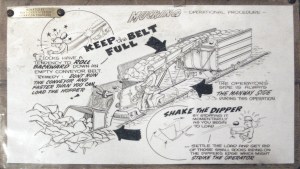
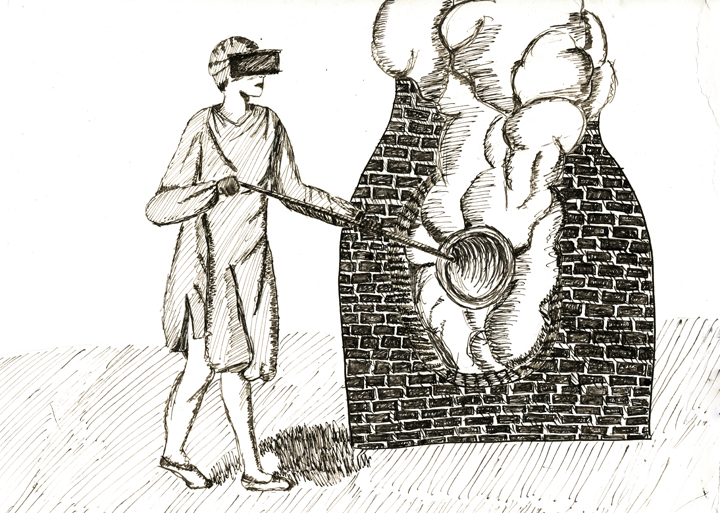
Mucking Machine Diagram in the Hard Tack Mine
The tour itself was disappointing compared with other tours I’ve taken on my trip through Colorado. To begin with, the Hard Tack Mine wasn’t a mine at all; it was originally blasted as an adit to reach other mines further up the mountain but was abandoned after reaching only 350 feet. No ore was ever struck. The current owners came in, cleaned out the old works, blasted a few way stations to hold exhibits, brought equipment in from other places, and called it a “mine tour.” Now, if I had never been on any other mine tours (such as the one in Creede just this morning, which was far superior) then I might have learned some interesting things about hard rock mining. But the other tours at least had tour guides who had been miners and knew their stuff, and their displays were better designed and more detailed. And their mannequins were less cheesy.
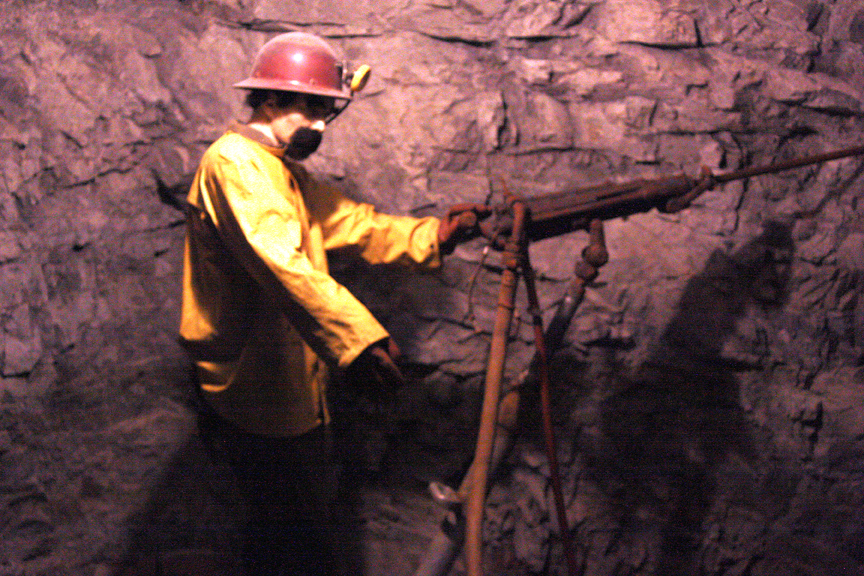
Jack leg drill display in the Hard Tack Mine
There were a few good things about this tour. The displays had some illustrated signs that did a good job explaining how the drills and other equipment worked. The signs were on paper inside plastic sleeves and were hard to photograph because they didn’t lie flat, but I did the best I could. There was also a good mineral exhibit and some photographs of the mining in the area. But the tour didn’t last very long nor was it very informative. There is a museum in town that no doubt gives more details about the history of the area, but my time was short – I wanted to get to Victor before nightfall. I’ve had to do some further research on my own.

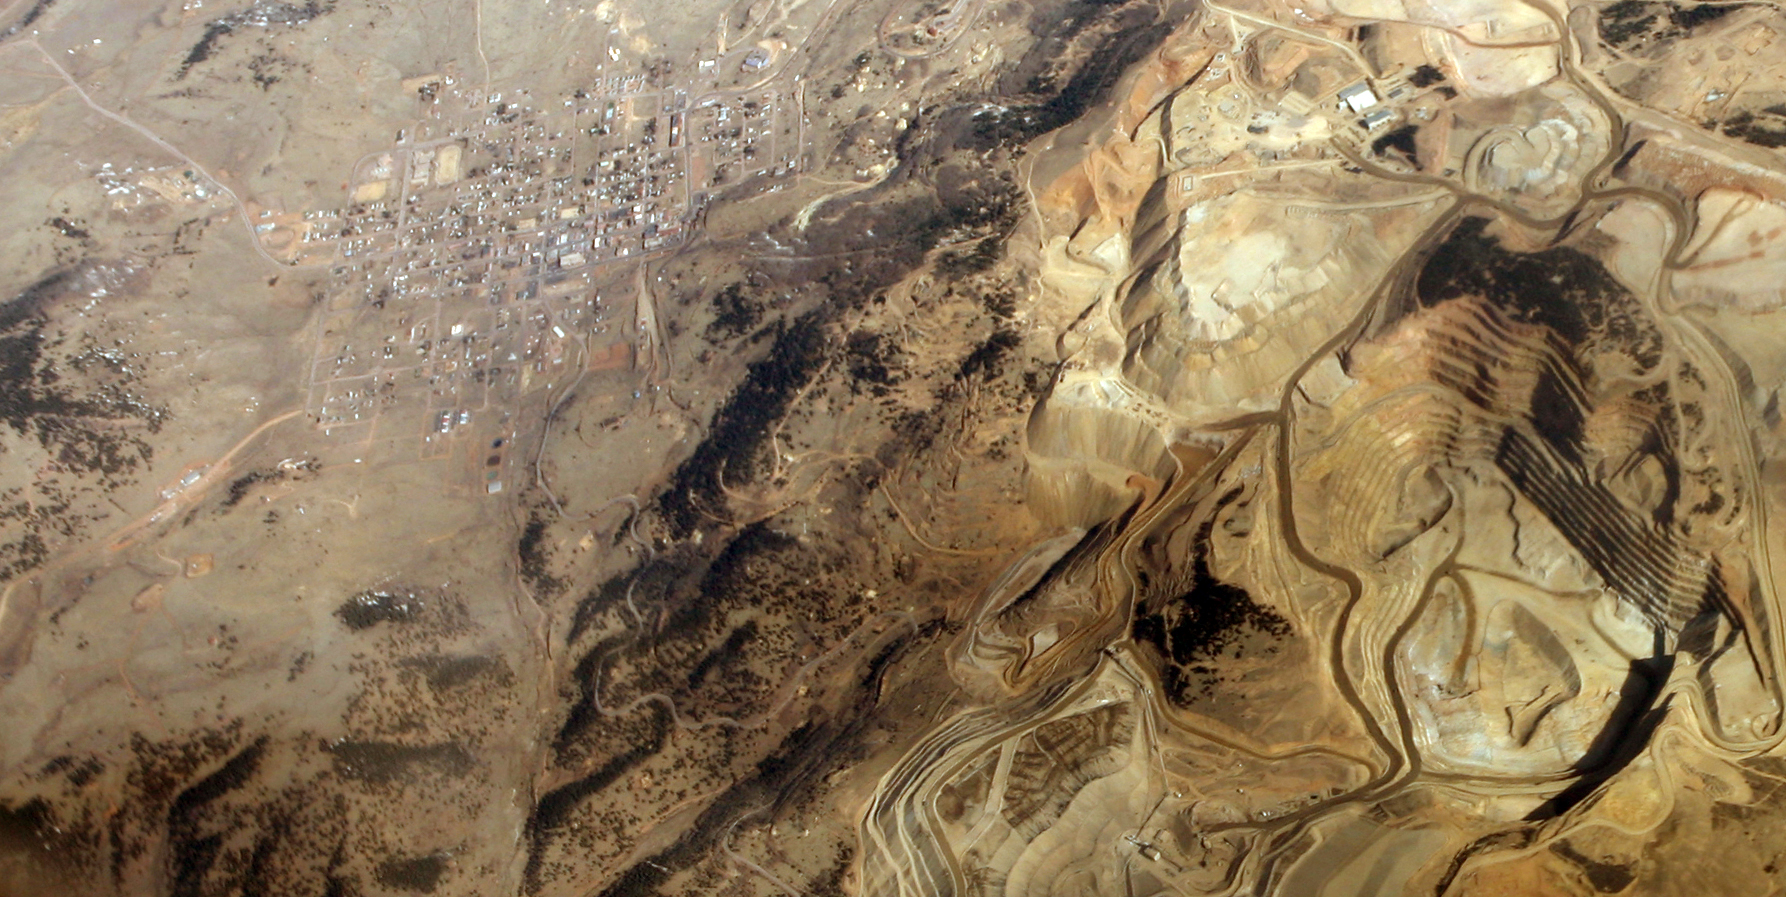
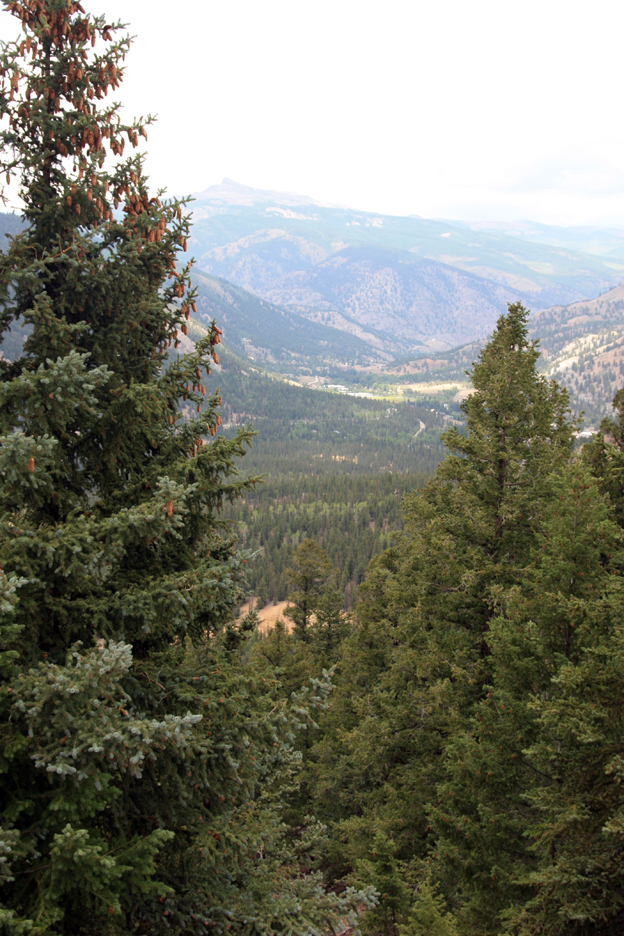
Lake City Colorado from Highway 149
Lake City, Colorado is the county seat of Hinsdale County and the only incorporated town in the county, which is the most sparsely populated county in Colorado. This should tell you something about how remote the town is from just about anywhere else; although it is not very far as the eagle flies from Lake City to Ouray or Silverton, you need a good four-wheel drive vehicle to make it over Engineer or Cinnamon Pass. This silver camp is located on the west slope of the continental divide along Colorado Highway 149, northwest of Creede and southwest of Gunnison.

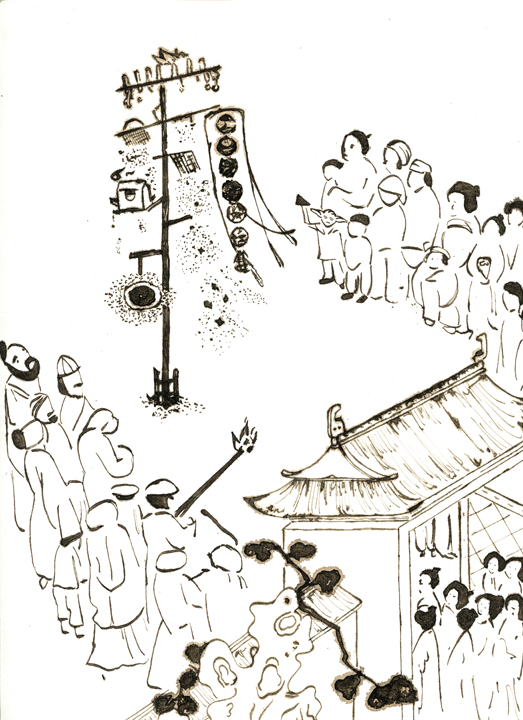
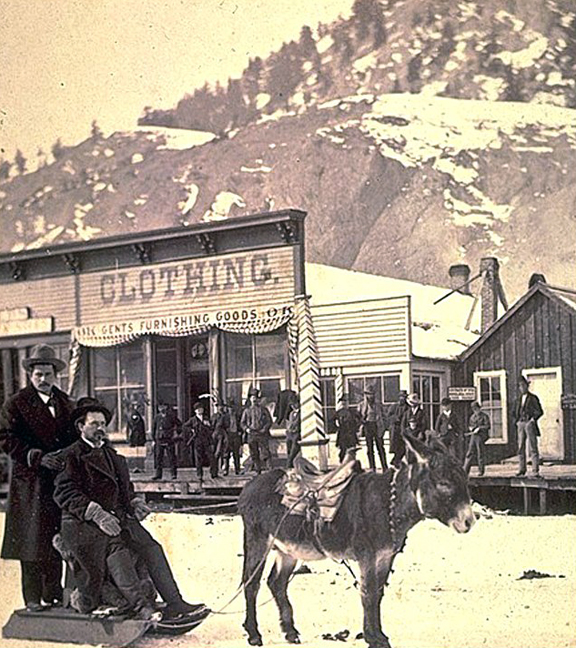
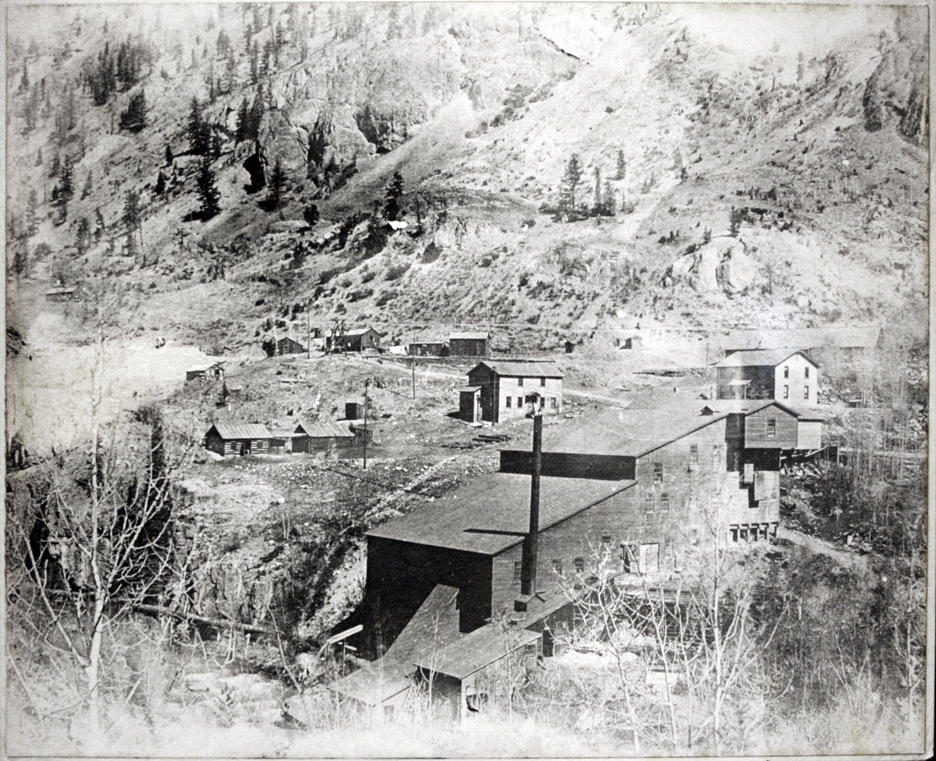
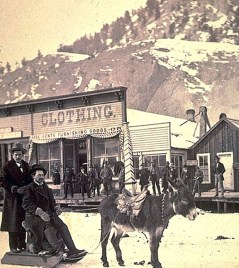
Lake City in 1881
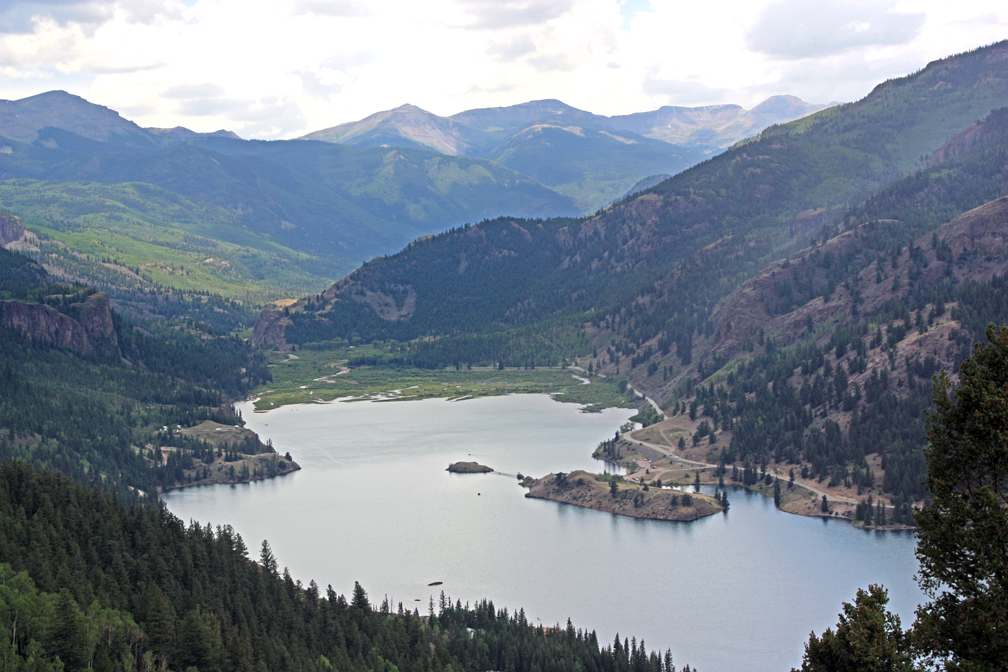
The same caldera eruptions that brought veins of silver, gold, lead, zinc, and copper to the San Juan Mountains also placed veins in this area, cut into by glaciers to form the rugged peaks and ridges of the San Juans. About 800 years ago, a large earthflow filled the canyon and damned off the Lake Fork of the Gunnison River, creating Lake San Cristobal, the second largest natural lake in Colorado. Lake City is located in a dell about three miles below this natural dam. The slide itself is called the Slumgullion Slide, because its brownish-orange color studded with boulders reminded the early miners of slumgullion stew, a beef stew with onions, carrots, and potatoes.
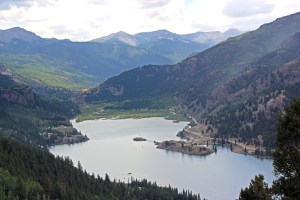
Lake San Cristobal above Lake City, Colorado
This area was home to various Ute tribes, especially the Tabeguache Tribe led by Chief Ouray. They originally ranged from the San Luis Valley through the San Juans. But their range was reduced through several treaties, ending with the Brunot Treaty of 1873, which moved the Utes to the Uintah-Ouray Reservation in Eastern Utah.
Lake City winter
Even before the treaty was ratified, prospectors were heading into the San Juans, pressing south along Lake Fork to the area around Lake San Cristobal. One party of six men, led by Alferd Packer, got caught in deep snows as they tried to hike to the Los Pinos Indian Agency near Saguache. They ran out of food and even ate their shoe leather to try to stay alive. Only Packer made it to the station.
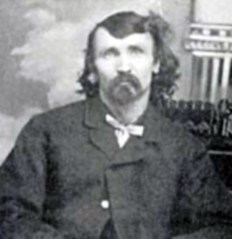
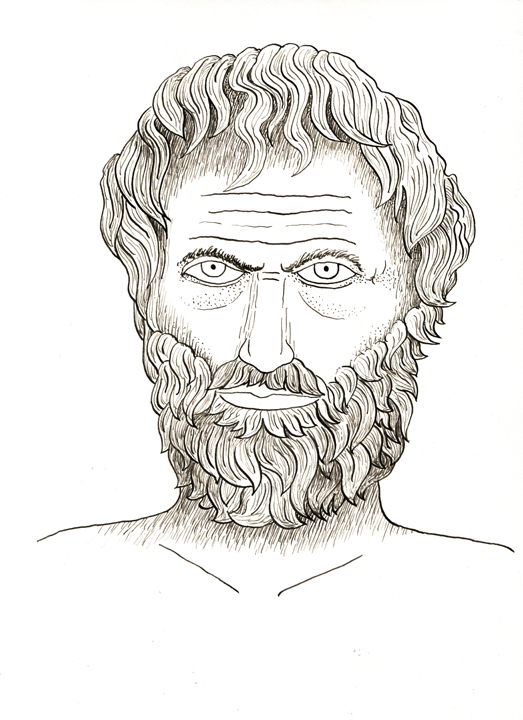
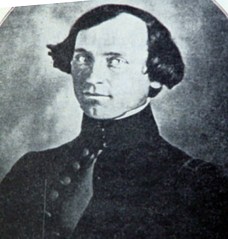
Alferd Packer. You would not want to hire this man as a tour guide . . .
Later that year, the bodies of the other five men were found dead at the base of Slumgullion Pass and showed signs of foul play and cannibalism. Packer had seemed well enough fed, and was spending money from several different wallets. He was arrested and charged with murder, escaped, was captured seven years later and convicted of murder in the Hinsdale County Courthouse. He was retried in Gunnison and found guilty again, then sentenced to 40 years. He was later pardoned by the Governor of Colorado. He always claimed he had killed one of the men in self-defense, and that another man, the oldest of their party, had died of natural causes and was probably eaten by the others.
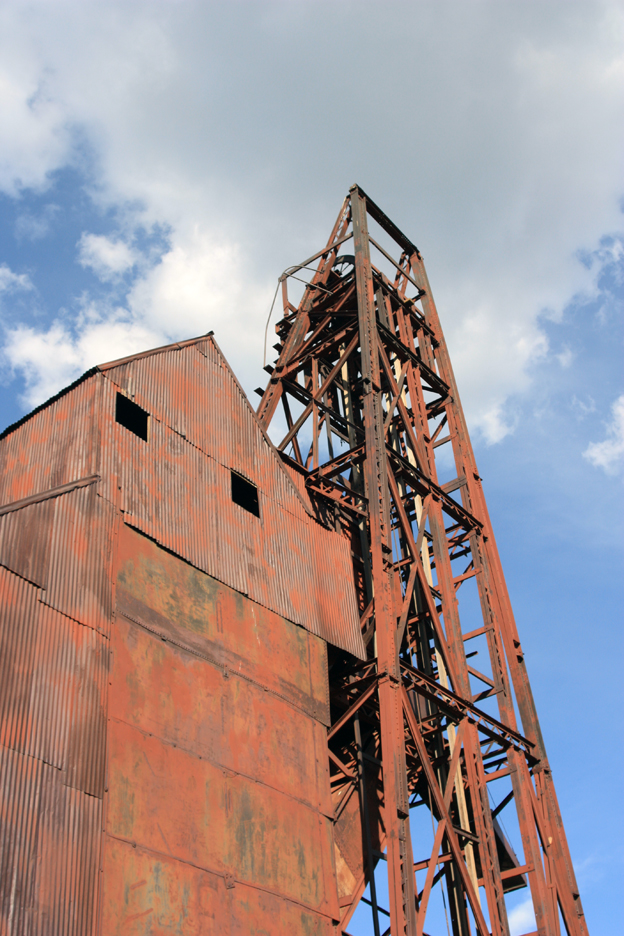
The Golden Fleece mines above the Slumgullion Slide.
Other prospectors discovered claims, which were staked out and filed just as soon as the treaty was complete. The first big strike was the Golden Fleece claim discovered by Enos Hotchkiss (who also built the first cabin in the area of what is now Lake City). He and Henry Finley and D. P. Church were building a toll road between Silverton and Saguache in 1874 when he located rich gold ore by the lake. By 1875, Lake City was incorporated as a town, and became the county seat. Within a few years over 500 structures had been built and mining had extended all the way into the valleys and passes above Lake San Cristobal. The town itself became an important jumping off, resupply, and smelting point.
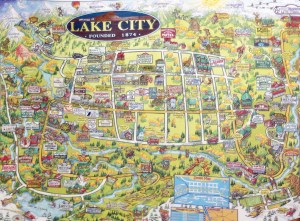
Illustrated map of Lake City, Colorado
In 1889 the Denver and Rio Grande Railroad built a narrow gauge line in from the north and the ores could now be transported much more cheaply. Otto Mears built toll roads over the passes from Silverton and Ouray to Lake City and charged $2.25 per passenger for the daily stagecoach runs. It would take two days to make the bone-jarring ride, and the stages would stop over at Rose’s Cabin, originally built in 1874 by Corydon Rose as a one-story log cabin. It eventually grew into a saloon and hotel, stable, store, post office, and cultural center for the mining claims in the area.
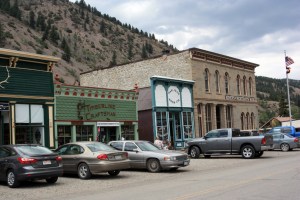
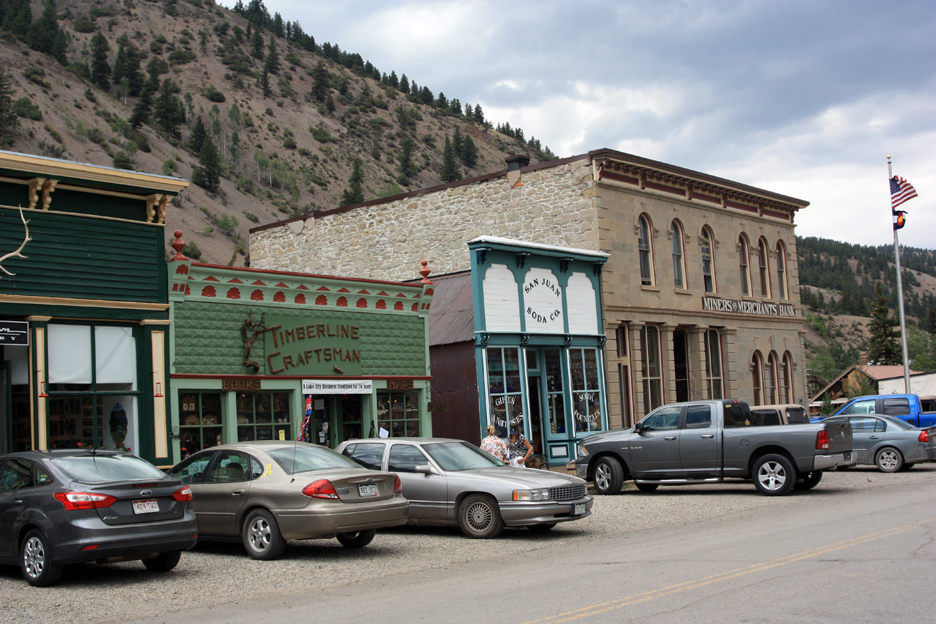
Downtown Lake City, Colorado
Lake City reached its peak population of about 6000 around 1900, but the writing was already on the wall. The Silver Panic of 1893 cut the price of silver so much that it doomed much of the mining in the San Juan Mountains and elsewhere in Colorado and throughout the West. Only those mines that contained enough gold and other ores to ride out the downturn were able to survive. Now maybe 500 people live there year-round.
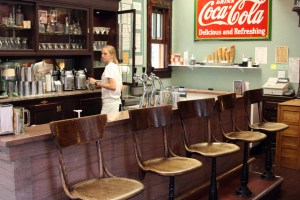
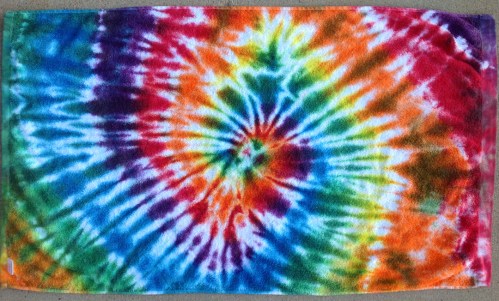
Soda fountain in Lake City, Colorado
The last train out of Lake City left on May 25, 1933. After the railway was abandoned, Mike Burke, owner of the Ute-Ulay Mine, had a 1928 Pierce Arrow automobile remodeled with train wheels so it could run on the tracks. It was called the Galloping Goose because of its tendency to weave back and forth on the rails.
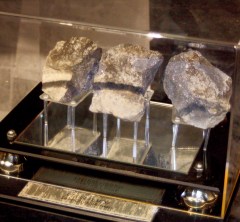
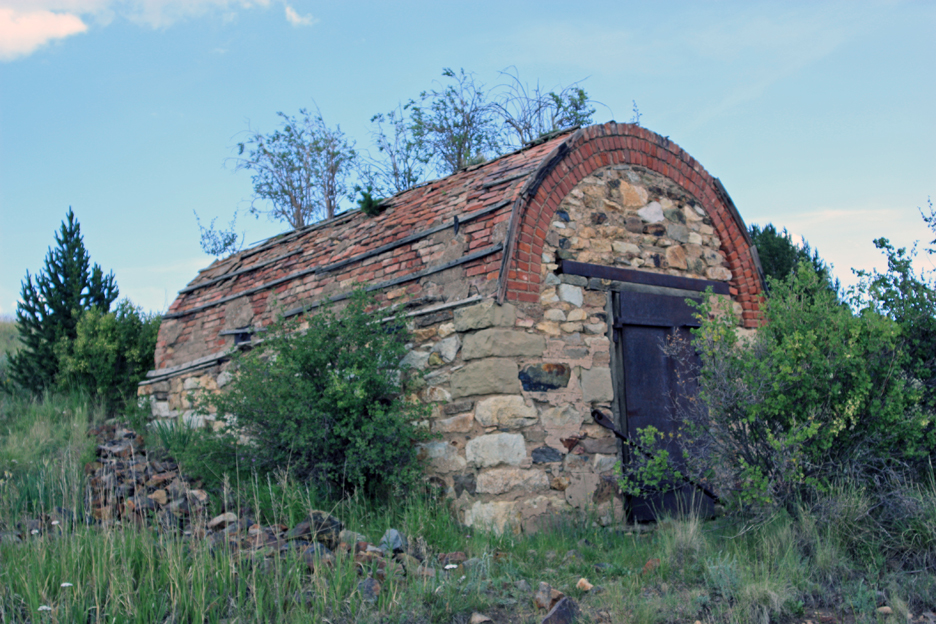
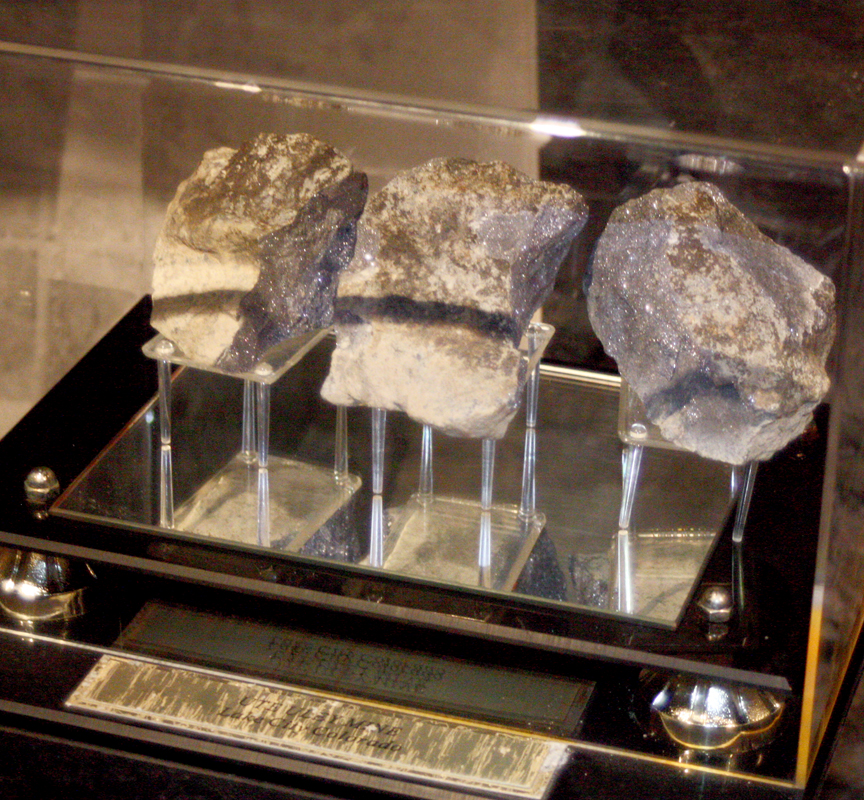
Silver ore from the Ute-Ulay Mine near Lake City, Colorado
The Ute-Ulay (or Ule) Mine is one of the more famous in the area, with over $10 million worth of silver and lead extracted. Its mill was used as late as 1983, but now the buildings, mill site, boarding house, tram line, etc. are decaying and in danger of collapsing under heavy winter snows. The current owners, LKA International, have donated the land to Hinsdale County and options are being looked at to renovate the structures and remediate the tailings pile and pit near the mill.
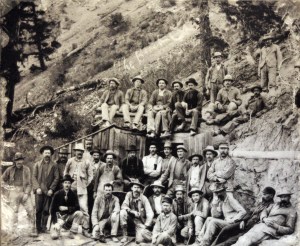
Miners at the Black Creek Mine near Lake City, Colorado.
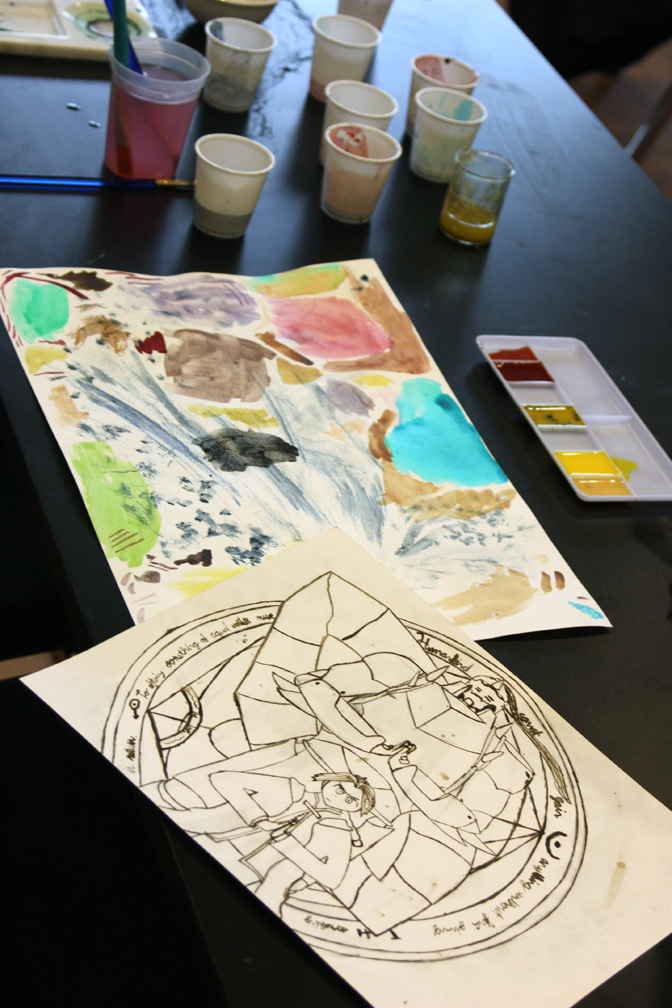
The county invited in the nonprofit Colorado Art Ranch to put together the Hardrock Revision Team, a group of seven artists to find creative ways to utilize the property while maintaining its historic appeal. Some ideas include turning the over 100 miles of tunnels into a large Aeolian harp, converting the water tank into a camera obscura, covering the roofs of the buildings with protective tarps painted with mining scenes, and turning the tailings pit into an ice skating rink once it has been remediated. This is not a bunch of outsiders coming in to tell the community what to do – it was initiated by Lake City citizens. It will be interesting to see what happens, and perhaps I’ll have to stop when I come this way again. Here is a link to the article I found on this project: http://www.hcn.org/issues/43.20/can-an-old-mine-become-a-work-of-art/article_view?b_start:int=0. I just wish similar efforts could happen in Utah before the state shuts all our mining history down or all the old structures collapse into oblivion.
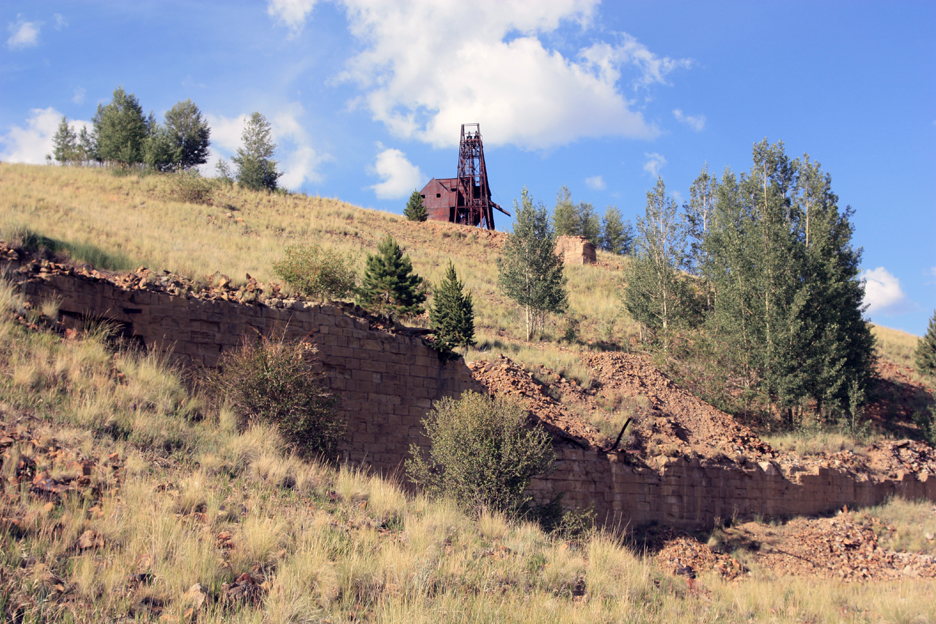
Mining structures in the Lake City area
As I left the Hardtack Mine, I drove north out of Lake City on Highway 149 and left the San Juan Mountains behind. North of Lake City, large basalt flows continue all the way to the Black Canyon of the Gunnison. I joined U.S. 50 nine miles west of Gunnison and stopped to gas up. Now I was on a familiar road – I’ve traveled most of the length of U. S. 50 at one time or another. I’ve been on this section with my children 10 years ago when I was last in the San Juans.
Captain John W. Gunnison, for whom many towns and places are named in Colorado and Utah. His 1853 survey expedition was attacked by a Pahvant war party in Oct., 1853 west of Deseret, Utah.
Captain John William Gunnison left his name all over Colorado and into central and western Utah, but not in Nevada. He never made it that far. As a Captain of the Army Corps of Topographical Engineers, he was commissioned in 1853 to survey a route for the transcontinental railroad between the 38th and 39th parallels. U.S. 50 and parts of the Denver and Rio Grande Railroad follow the route his team surveyed. They discovered the gorge of black basalt and the river that bears his name. Once they reached Utah, they surveyed along the Sevier River near the site of Gunnison, Utah and passed through Leamington Canyon into the Pahvant Valley. Fearing the approach of winter, he sped up the work by splitting his team into two groups. His half of the party surveyed a large meander in the Sevier River where the Gunnison Bend Reservoir is now located. Several miles further down the river, west of what is now Deseret (my hometown), they were attacked by Pahvant Utes on the warpath. Of eleven men in the group, only three survived. Gunnison was killed. I travelled east on U. S. 50, thinking about how Deseret would be different if Gunnison had finished his survey and the transcontinental railroad had followed that route instead of the more northern route it took.
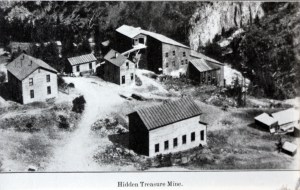
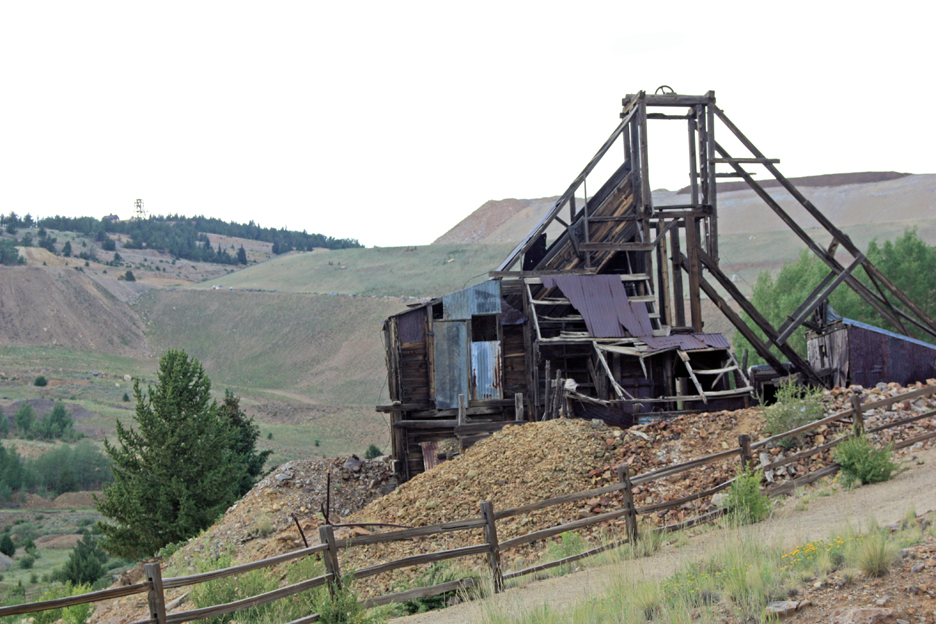
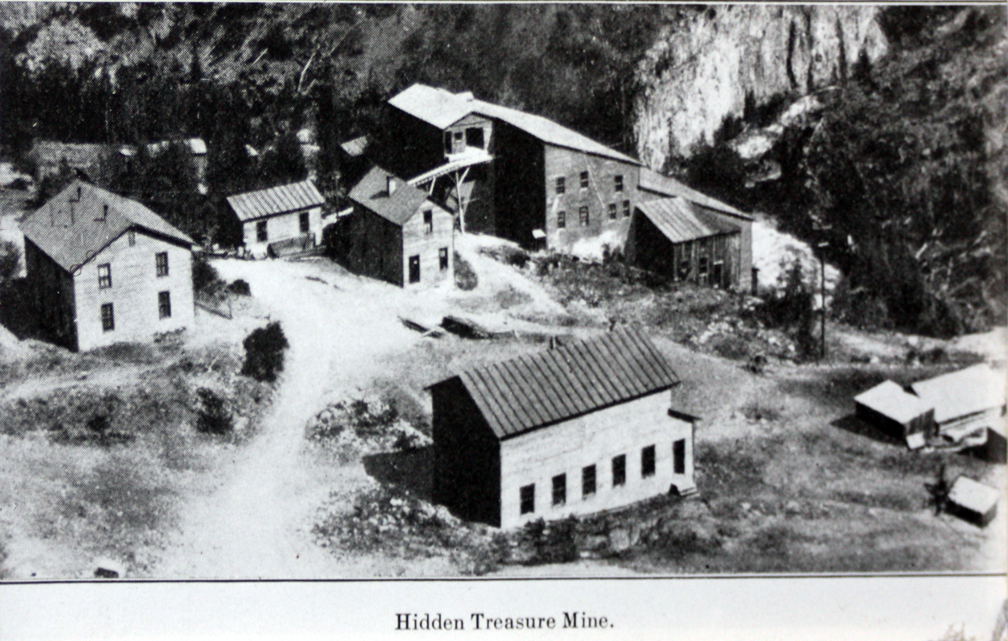
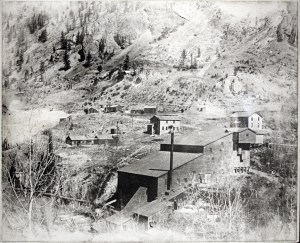
Hidden Treasure Mine near Lake City, Colorado
I became so sleepy that I had to pull over and take a nap for an hour, then press on. Clouds gathered as I drove up into the Sawatch Range and it began to drizzle. I had intended to take the tramway to the top of Monarch Pass, but I was behind schedule and it wouldn’t have been much of a view in the rain, so I pressed on. I drove into Buena Vista and ate supper at a burger place, then tried to get the phone number for the KOA campground outside of Victor that I was going to stay at. It was getting dark and I wanted to let them know I was going to be late coming in. My wife looked up the number for me (somehow I had forgotten to write it down with all my other contact information when planning this trip) as I drove east on U.S. 24. I had to double back to find a spot with cell tower reception in order to get the number, but was not able to get through to the campground. They must have already closed the office.
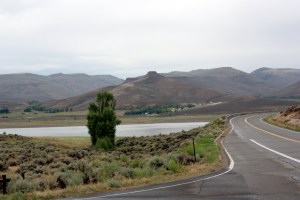
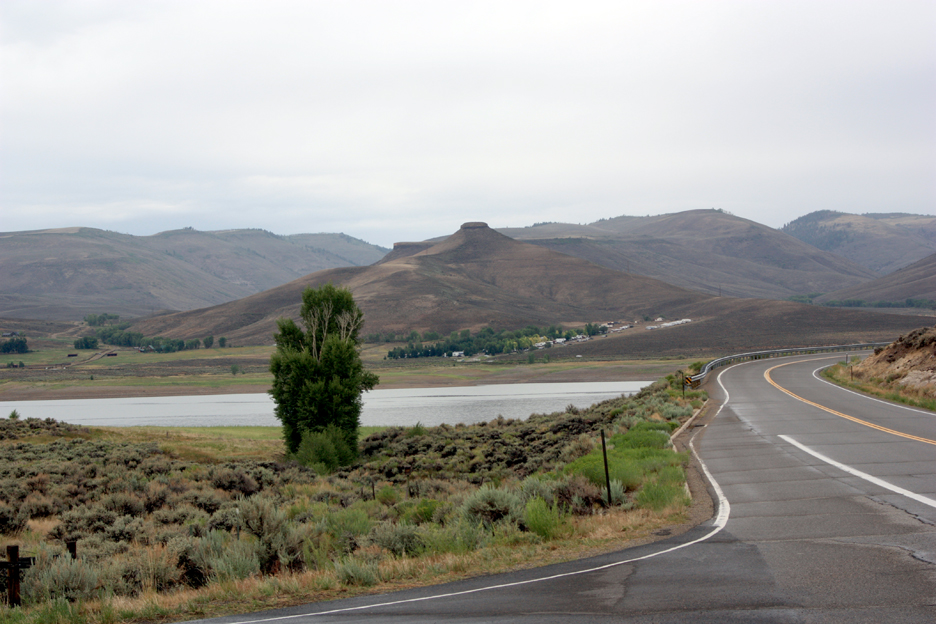
The Road to Gunnison
By now it was completely dark, so once again I travelled this highway in the night, the last time being in 2010 when we drove out to Denver, stopping in Cripple Creek. Now I was returning to complete the visit I made then. At least I had driven this route once in the daytime, back in September, 2009 on my way back from Philadelphia, and had good photos of the scenery.
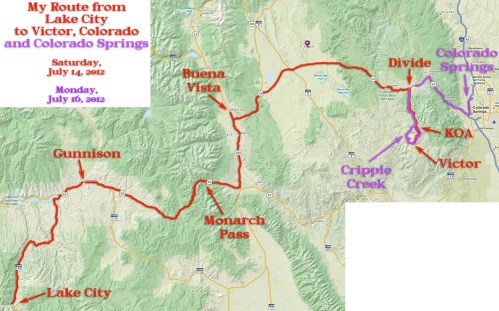
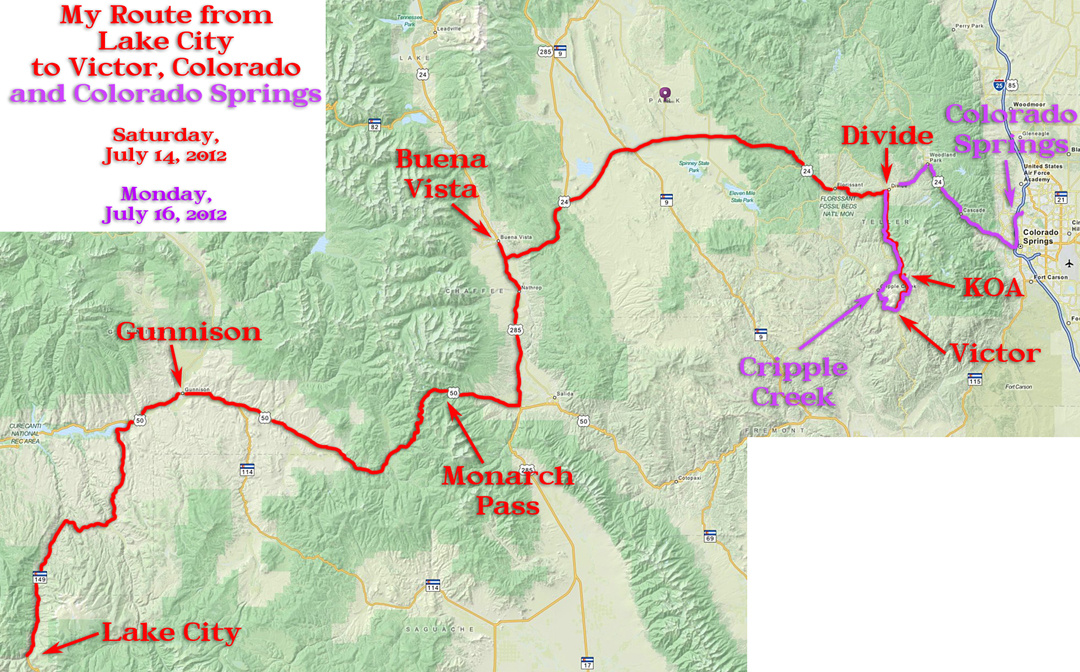
My route from Lake City to Victor, Colorado on July 14, 2012.
I was getting very tired by the time I got to Divide and turned south. I took the turn toward Victor, but somehow missed the KOA in the dark and wound up driving all the way into town. I turned around and headed back. I almost missed the sign again. The KOA is located just south of the turnoff to Victor, and I arrived about 11:00. The manager had left a map for me in the entranceway to the office with my site circled, a tent site on the outer edge of the camp. It took a couple of drives around the camp before I found the right trail leading off to the tent sites. Mine was Site 1, nestled back in the aspens with good privacy. I was too tired to make camp, so I just rearranged my gear, setting stuff outside like the tent that I knew bears wouldn’t get in to, and made a fairly good bed in the back of my minivan.
Read Full Post »