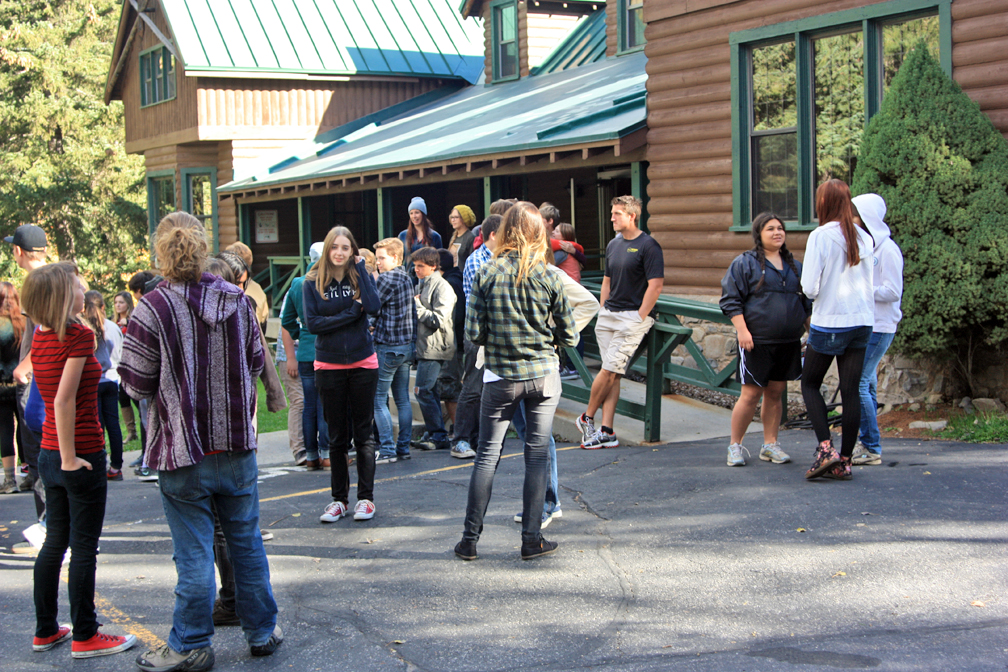
Walden School students at TImp Lodge near Sundance.
Each year in September we take all the students of Walden School of Liberal Arts up to Timp Lodge, a large cabin above Sundance Ski Resort owned and rented out by Brigham Young University. We rent it for a week and have the different grade levels take turns using it, with the high school using it for three days and two nights. We do this so that students can bond with teachers outside the regular classroom. By breaking up students in various workshops, we also hope to develop friendships between all the students and prevent cliques from forming. We do a variety of activities such as a 2-mile hike to Stewart Falls, workshops for the elementary students, a talent show, and a dance.
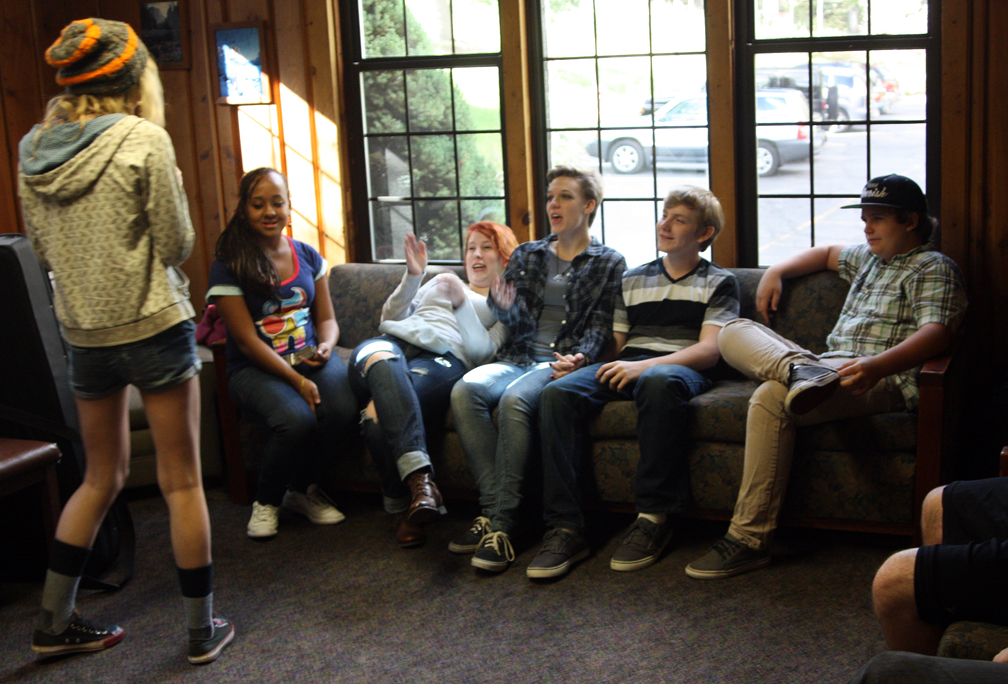
Walden School students inside Timp Lodge near Sundance.
During our first day there, each teacher puts together a workshop that is both fun and educational. I had proposed to make Shrinky Dinks using the process I’d learned at the ASM materials science camp this summer, but not enough students signed up for it (I guess I need to come up with a better name . . .). One of our new part-time teachers, Austin, was trying to brainstorm some workshop ideas and I helped out, since he didn’t know what kinds of things would work. We came up with the idea of doing tie-dyed shirts. He had 30 students sign up, so I agreed to help out. Now why didn’t I think of that in the first place?
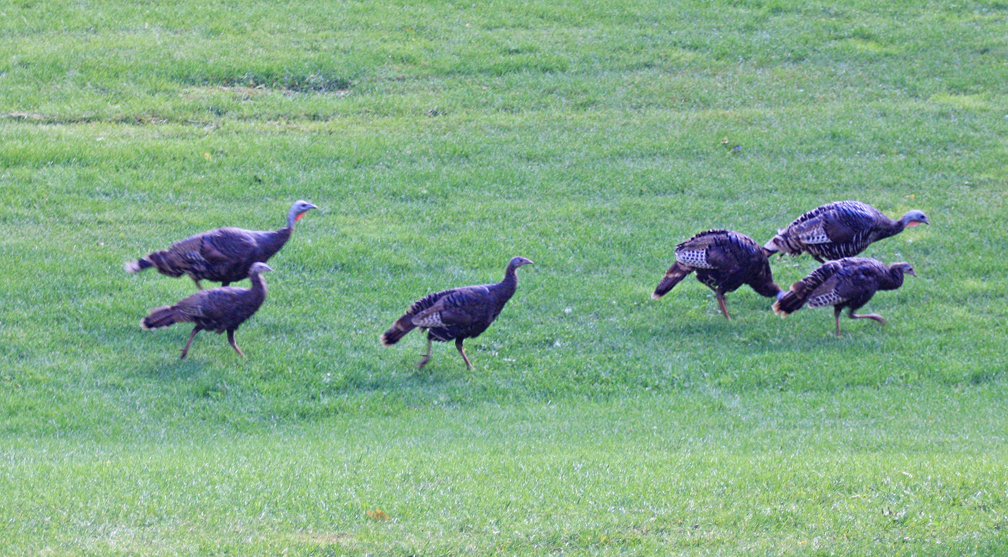
Wild turkeys at Timp Lodge near Sundance. And I’m not talking about students, either.
Since not all of the 30 could get around the tables and use the dye bottles at the same time, I came up with an additional idea to make marbled paper. I’ll describe this in my next post. But this time, lets talk tie-dye.
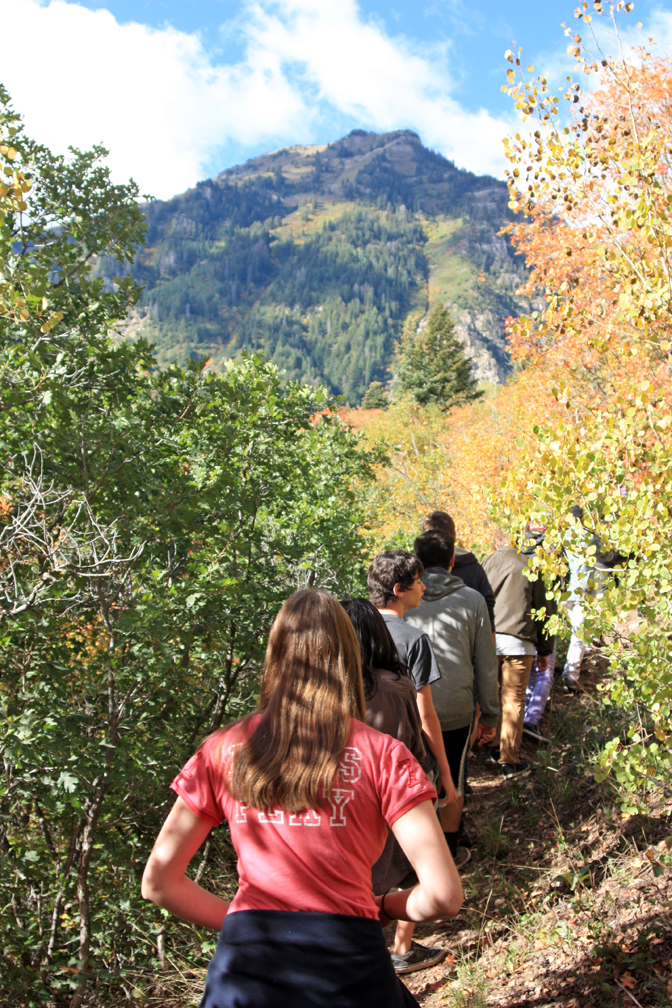
Hiking to Stewart Falls.
Austin purchased an assortment of standard Ritz dye colors and some plastic squirt bottles (such as used for catsup or mustard). We had the students bring their own shirts or other clothing items (some did socks, and one even did underwear), but we purchased extras for those who couldn’t bring their own. We also brought tubs and buckets for mixing the dye, plastic disposable tablecloths, large Ziploc bags, rubber bands, and washing soda as a mordant.
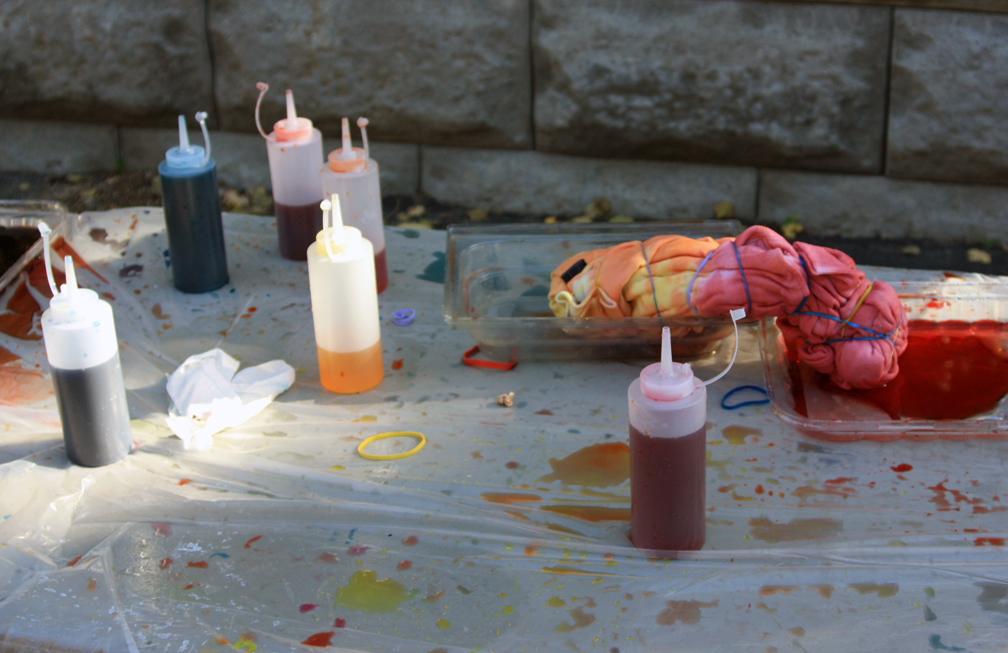
Squirt bottles full of fabric dye. We used yellow, orange, carmine, purple, blue, and cyan.
A mordant is a chemical that forms a coordination complex with the dye molecule so that it can attach permanently to the fabric substrate, such as wool or cotton fibers. As for any pigment, for the color to last, it must be insoluble in water, yet the dye itself must be soluble in water when first mixed. The mordant forms a “lake” (from the old Latin “lac” from which the word shellac is also derived) that makes the dye insoluble and permanent. The mordant is usually a metal ion salt that forms a base in solution, such as washing soda (sodium carbonate). Other common mordants used historically include urea, tannic acid, aluminum salts such as alum (aluminum phosphate), and even salt (sodium chloride). I would like to do this in a more controlled setting sometime to test the effectiveness of different types of mordants.
Method for making a bulls-eye pattern. The center is pulled up while the shirt is twisted slightly, then bound in sections by rubber bands and dyed.
Our procedure was to mix the washing soda into a bucket of water and soak the T-shirts in it for several minutes. We then spread them out on the plastic tablecloths and folded them to produce one of several patterns. For example, you can make a spiral design by taking the center point and pinching the cloth, then twisting the whole shirt into a spiral and tying it together with rubber bands around the outside and across the center. The dyes are then squirted onto the rolled up shirt to form wedges of color, overlapping them to make gradients. We discovered that you get more color if you really saturate the dye in the wedges, going over them several times and even squirting some in between the cracks and ridges so that color gets down deep and leaves less white.
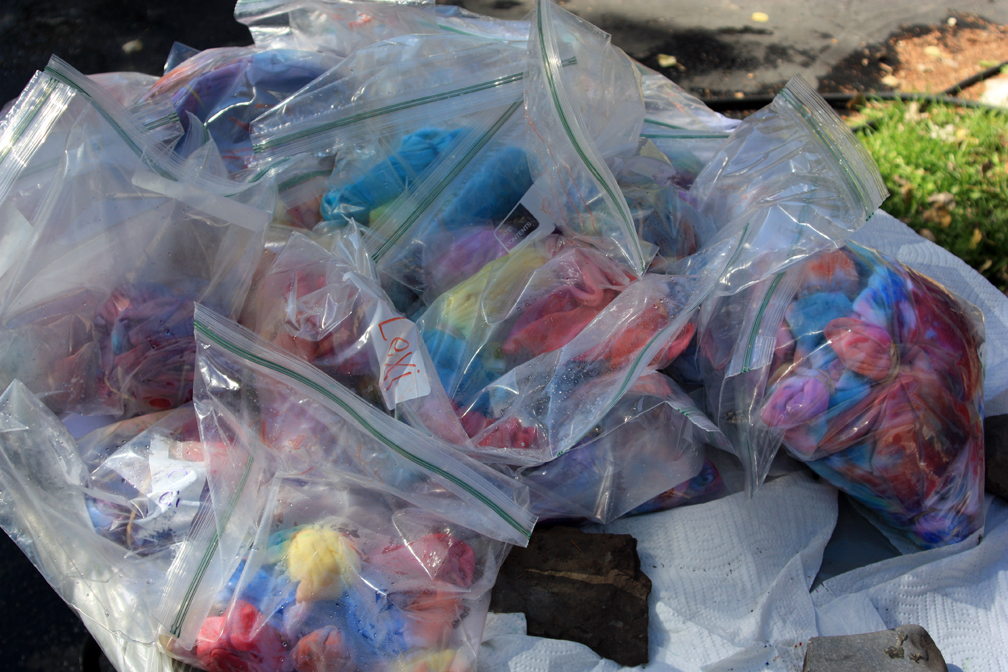
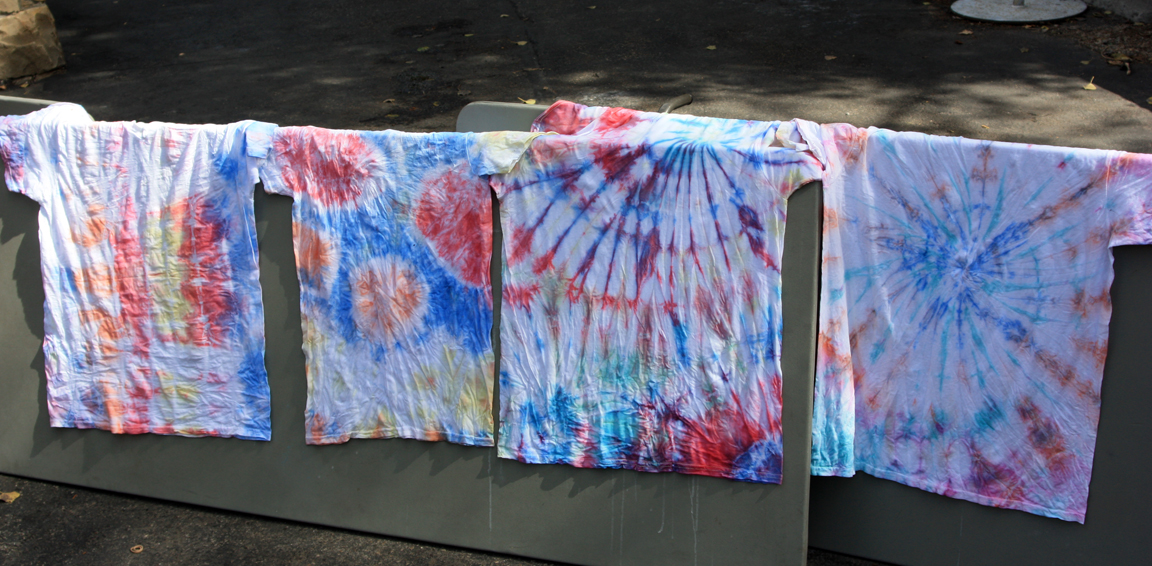
Ziploc bags full of dyed T-shirts. The dye was allowed to set before air drying.
To make bulls-eyes, choose the center and pull it up while twisting to make a long rope, then attach rubber bands at intervals to hold the cloth together. Squirt different colors of dye between the rubber bands. Where the rubber bands are pinching the cloth together, less dye will penetrate and will leave white rings separating the bands of color.
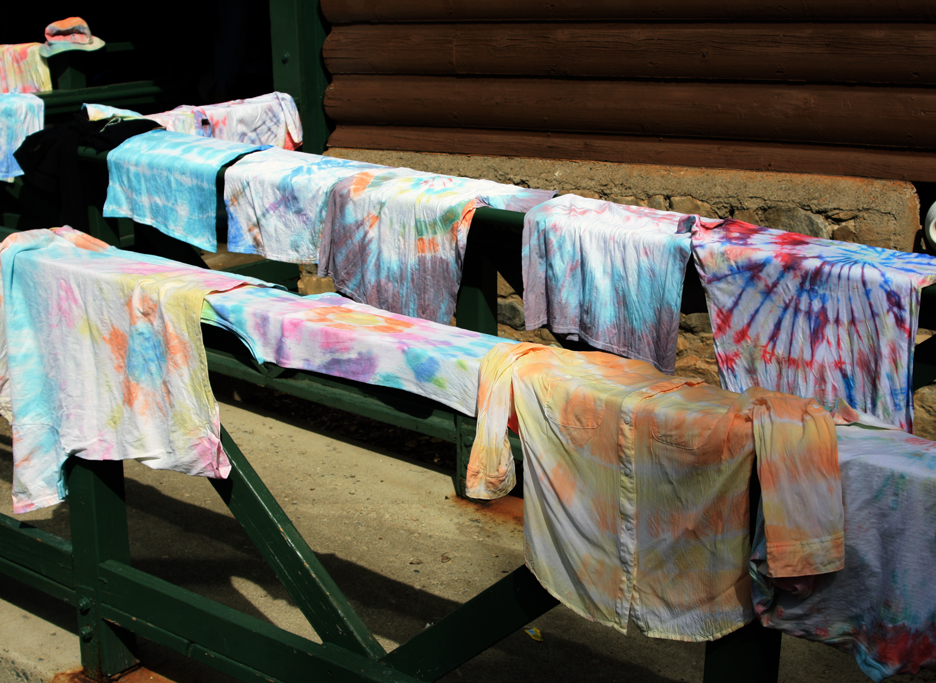
Drying T-shirts at Timp Lodge.
To make tiger stripes, lay out the T-shirt face up, then drag your finger from one shoulder diagonally down to the opposite corner, creating a pleated fold that is then held together by rubber bands. Bands of dye color are squirted along it. To make a plaid pattern, take the tiger striped pattern and make a second set of accordion-style pleats.
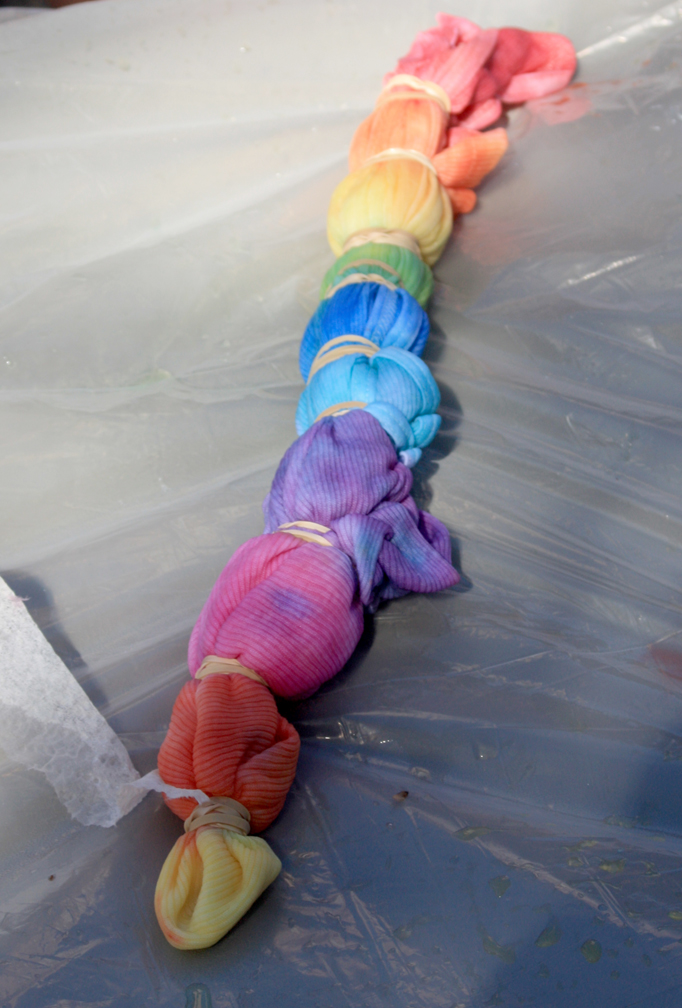
Plaid, spots, and spiral patterns.
We had enough T-shirts that I tried several different patterns to see which were best. I liked all the results, especially the tiger stripes. I think I would create a gradient of colors (say yellow through orange to red) across an unfolded shirt, then fold it and make a second set of colors (blues and greens). That way, interesting color combinations would result and there wouldn’t be any undyed white areas. Or I could do two different patterns on each shirt, letting them dry in between. I will have to do more experimentation.
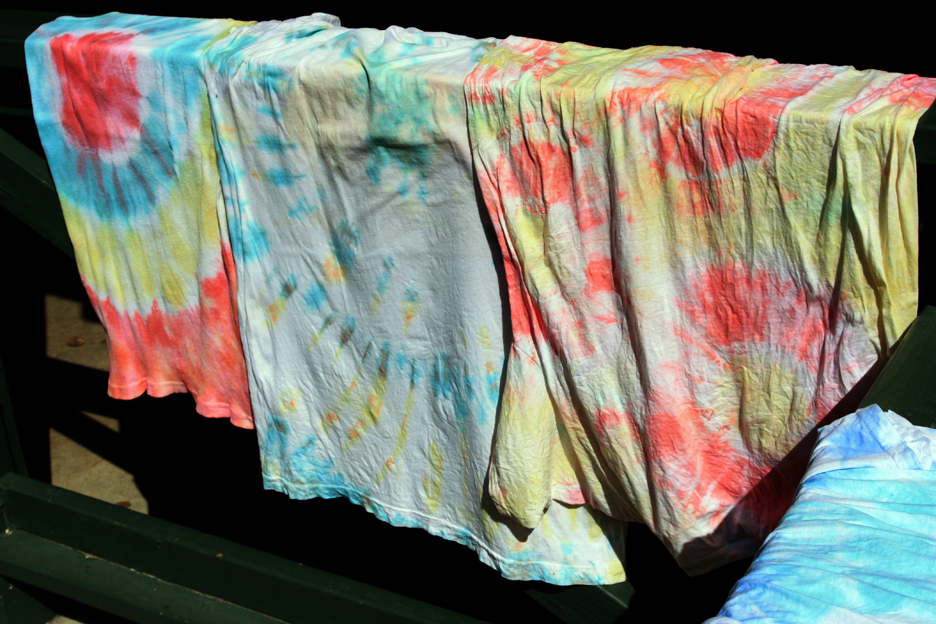
Tie-dyed shirts showing different patterns.
After applying the dye, the students sealed the shirts in Ziploc bags for several hours to allow the dye to set, then gently washed the soda out. They then let the shirts dry completely in the sun. I told them the color would be fast (permanent) if they heat set it by running the shirt through a drier before washing it. It remains to be seen just how color fast our T-shirts are. The ones I’ve made have held up pretty well.
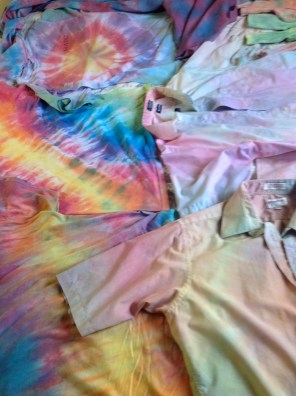
A sampler of shirts, socks, and scarves dyed in my 2014 Timp Lodge workshop.
We had T-shirts drying all over the place on the Lodge’s railings and many turned out quite well. For the next several days after we returned from Timp Lodge we had quite the tie-dye fashion show as students wore their shirts to school. We’ve had the reputation of being “that hippie school” in the past, so I suppose this helps verify our image.
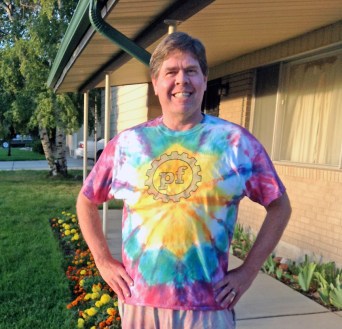
Yours truly wearing a star patterned shirt. I’m running out of white T-shirts, so I’ve been using whatever I can for practice.
Update to Post for Fall, 2015:
I have continued the tie dye class at our annual Timp Lodge retreat for three years now. Looking at the photos shown above, I can see we’ve made some progress. The main difference has been introducing a better type of dye. Instead of the Ritz dyes you buy at a grocery store, which create the weak colors seen above, I ordered Procion MX dyes from Dharma Trading Company and the results have been much more spectacular. I have even re-dyed some of the shirts from 2013 just to get better results.
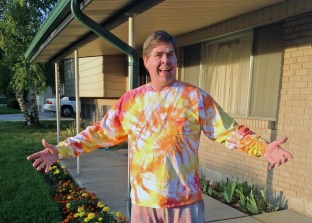
I found a nice long-sleeved white shirt at a local store and dyed it into a double-spiral pattern. It didn’t work as well as I’d hoped, but the colors are fun. You can see that the Procion MX dyes are much more intense than the standard Ritz colors.
I’ve learned how to make several advanced patterns, such as stars (you fold the shirt in an origami pattern similar to a paper airplane and tie it off using chopsticks and rubber bands), double spirals, and even Taoist Yin-Yang symbols, which involve sewing in lines of thread that can be pulled to gather the cloth in a specific pattern of S-curves and circles.
I was attempting to make a Taoist Yin-Yang symbol by gathering the shirt along an S-shaped curve with two circles. It didn’t quite work, but the colors turned out well.
I have standardized the student samples by purchasing white wash cloths and towels for the students to use instead of relying on them to remember to bring T-shirts or whatever.

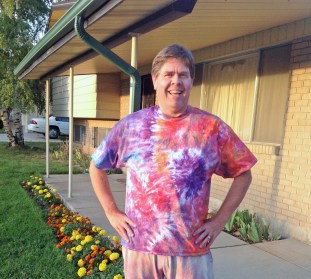
My wife, ‘Becca, wearing a standard spiral pattern I made for her. This one turned out nicely.

Some sample towels and dishcloths I did at Timp Lodge.
In other words, I have this fun art form down to practically a science. The only problem is that I now have so many tie dye items, its come to dominate my wardrobe! I even have tie-dyed socks and shorts.
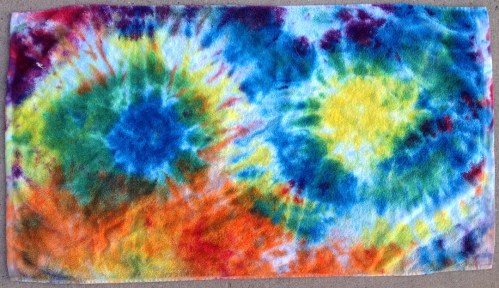
This towel shows the Yin-Yang symbol pattern much more clearly, although I didn’t plan out the colors very well.
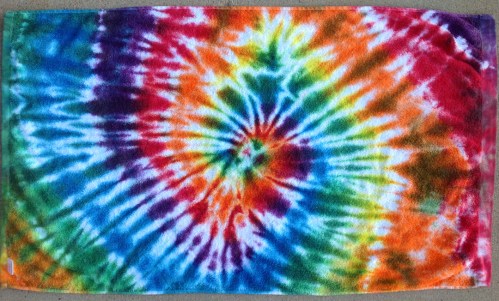
A classic spiral pattern on a white towel.