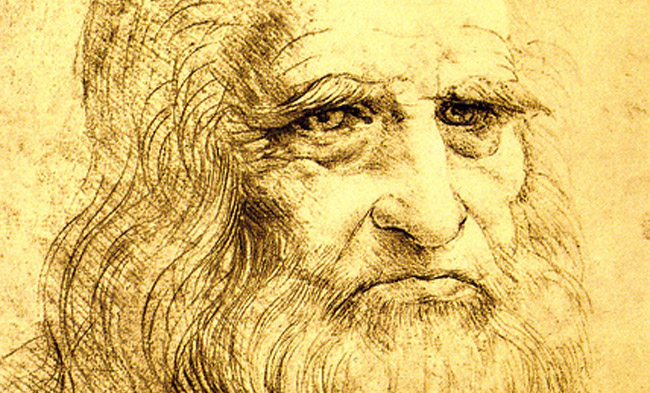
Self portrait of Leonardo da VInci
Ever wonder where ink comes from, how it was invented and how it is made? I do. Most of the ink we use today for printing newspapers or drawing is called “India” ink (although it was invented in China). It uses carbon black, or soot, for the pigment. But before this ink formula reached Europe, artists and scientists used a type of ink based on iron known as iron-gall ink.
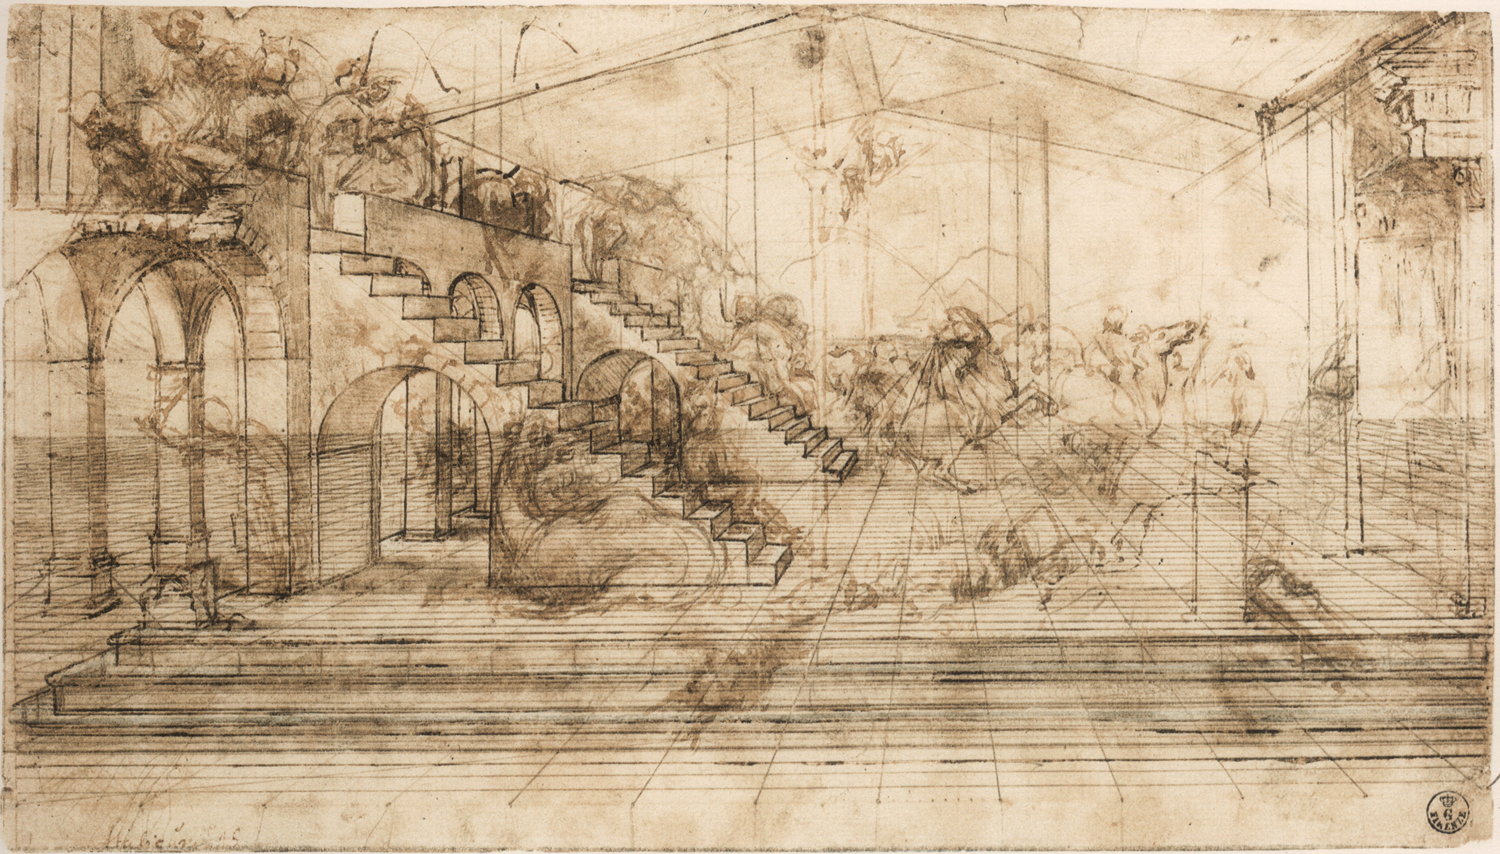
Original drawing by Leonardo da Vinci using iron-gall ink
In July, 1984, I had the opportunity to travel to Europe with my family. Among many works of Renaissance art, I saw a display of original drawings by Leonardo da Vinci in Florence. There were plans of statues he was commissioned to cast, sketches of human anatomy, and designs for fantastic devices. One thing that caught my eye was his artistic ability; how well he could draw directly using pen and ink. I remember wondering where he got his ink from, which had turned brown with age. Now I know the answer, and I’ve turned it into one of my favorite activities in chemistry.

Alchemical manuscript by Sir Isaac Newton, at the Chemical Heritage Foundation
Iron-gall ink was used for about 1400 years and only lost favor in the mid 1800s when India ink replaced it (because it was cheaper and easier to make and produced a more consistent, longer lasting black). But there’s something to be said for the artistic variety and richness of the shades of iron-gall ink and how it has oxidized with time. The manuscript shown here was written by Sir Isaac Newton with his own homemade ink. It is one page of 24 in the possession of the Chemical Heritage Foundation in Philadelphia and is a series of notes he made on his alchemical experiments (yes, Isaac Newton was an alchemist; in fact, he wrote far more pages on alchemy than he ever did on physics).

Isaac Newton’s recipe for iron-gall ink
Newton also left behind his own recipe for ink, as seen here. He started out by collecting galls off of oak trees. These galls are formed when a species of wasp lays an egg in an oak bud, which causes the oak to form a rounded ball or gall around the developing wasp larvae. As Newton’s recipe shows, he soaked the galls in strong ale or beer for a month along with solid gum Arabic. The rotting oak galls would produce tannic acid. The gum Arabic, which comes from the gum of acacia bushes in northern Africa, is used here as a binder to help the ink stick to the paper and keep the pigment in suspension, as well as make the ink have a better flow and consistency. Newton would then mix the tannic acid/gum solution with copperas. This is a chemical with a greenish-blue color that was mistakenly thought to contain copper (hence the name) but is really iron (II) sulfate. The mixture of the iron (II) ions with the tannic acid produced a rich dark brown-black suspension ideal as an ink pigment.
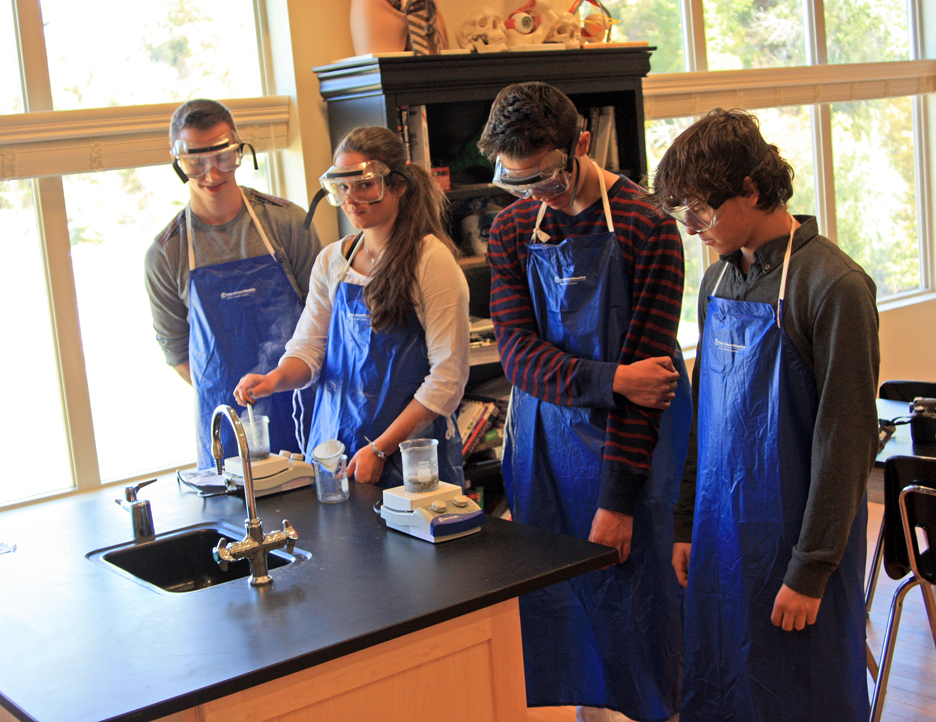
Chemistry students making ink
The question is how to make similar ink using modern equivalents. I’m not about to soak oak galls in ale for weeks; as it turns out, tannic acid is readily available from strong tea. The iron (II) ions can be produced from steel wool by boiling it in vinegar, filtering the solution through wet filter paper, then adding a small amount of 3% hydrogen peroxide. The trick is to not oxidize the iron too much, or you’ll get too much rust (iron (III) oxide) and your ink will be too brown. Getting a nice black color with just a hint of brown is ideal. If the ink is too thin, then it can be left out to evaporate and make it more viscous. A few drops of gum Arabic are added at the end. You can buy gum Arabic in most craft or art supply stores. If you add too much, the ink will be too glossy when it dries. I originally came across this procedure in ChemMatters magazine (“An Iron-Clad Recipe for Ancient Ink” ChemMatters, October, 2001) and have tinkered with it over the years.
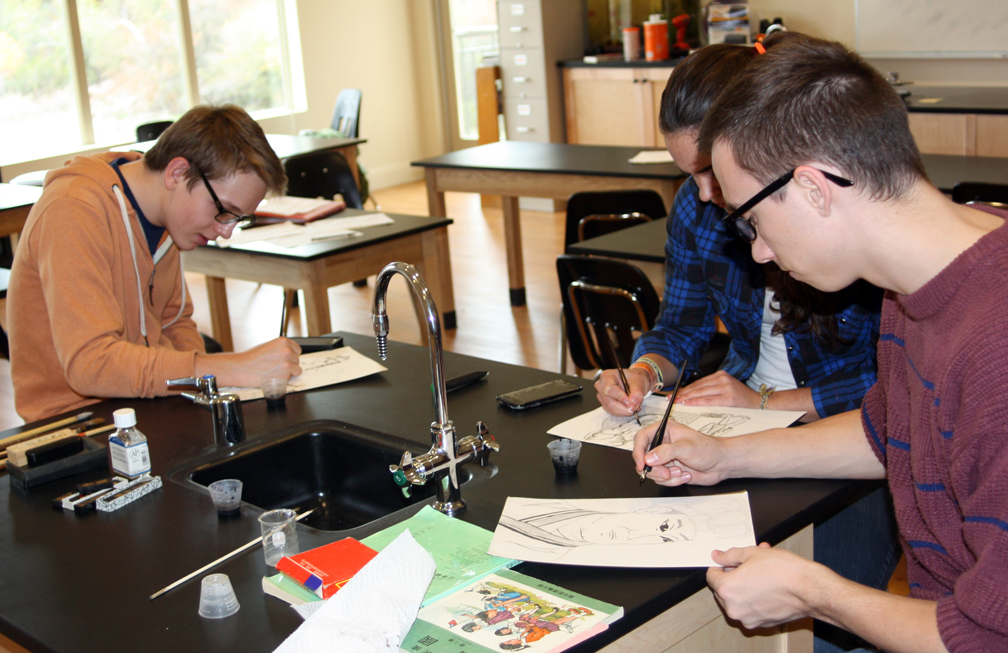
Chemistry students drawing illustrations with their own homemade ink
So what is the ideal recipe to make the darkest ink? That’s the inquiry part of this lab. I have the students experiment with different formulations to see what the best ratios of steel wool, vinegar, hydrogen peroxide, and tea would be. They also change the time that the steel wool/vinegar mixture is allowed to boil. They begin by learning the old recipe using oak galls, then learn the modern equivalents. From that, they identify variables to test. These factors (or ingredients or procedures) can be listed on the board and divided into comparison groups. Small groups of 2-3 students are assigned to each possibility, such as one group testing the amount of steel wool and its gauge, another testing the strength and amount of the vinegar (kitchen strength or glacial acetic acid) and how long to cook it, another group can test the hydrogen peroxide amount, and another the strength and amount of the tea to add. All of these results can be compiled and compared to create the ideal recipe for making the darkest ink.
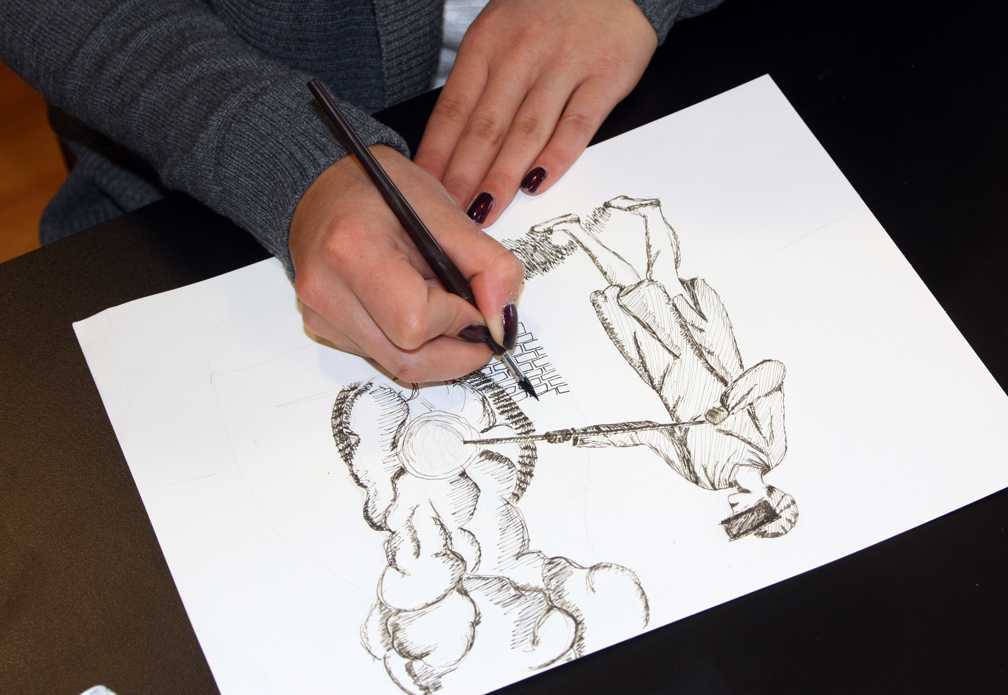
Using a traditional drawing pen with homemade ink
The procedure outlined in the ChemMatters article calls for students to boil 200 mL of water, then soak two tea bags in it for five minutes. Meanwhile, a steel wool pad is placed in a beaker with 100 mL of vinegar and boiled for seven minutes. The solution is filtered and cooled to room temperature, then 1 mL of 3% hydrogen peroxide is added. The grayish solution turns a reddish brown as the some of the iron (II) is converted to iron (III) ions (during our Intersession class, I had students use 10 mL of the hydrogen peroxide by mistake and their ink turned too brown). The iron solution and the tea are both added to small cups or vials in equal amounts and stirred together. A few drops of gum Arabic are added. My experience using this recipe produced rather anemic gray ink. As you can see from the illustration of Cai Lun (the inventor of paper) by Evan, with some experimentation you can achieve a very nice dark ink which compares favorably with India ink.

Cai Lun, the inventor of paper. Notice how rich and dark the ink is.
Of course, what my students have done deliberately in one class period took people during the Middle Ages centuries of trial and error to develop, and even by Newton’s time, everyone still had their own recipe. As you can see from the manuscript page, his was a good formula and made dark brown-black ink that has held up well for almost 400 years.
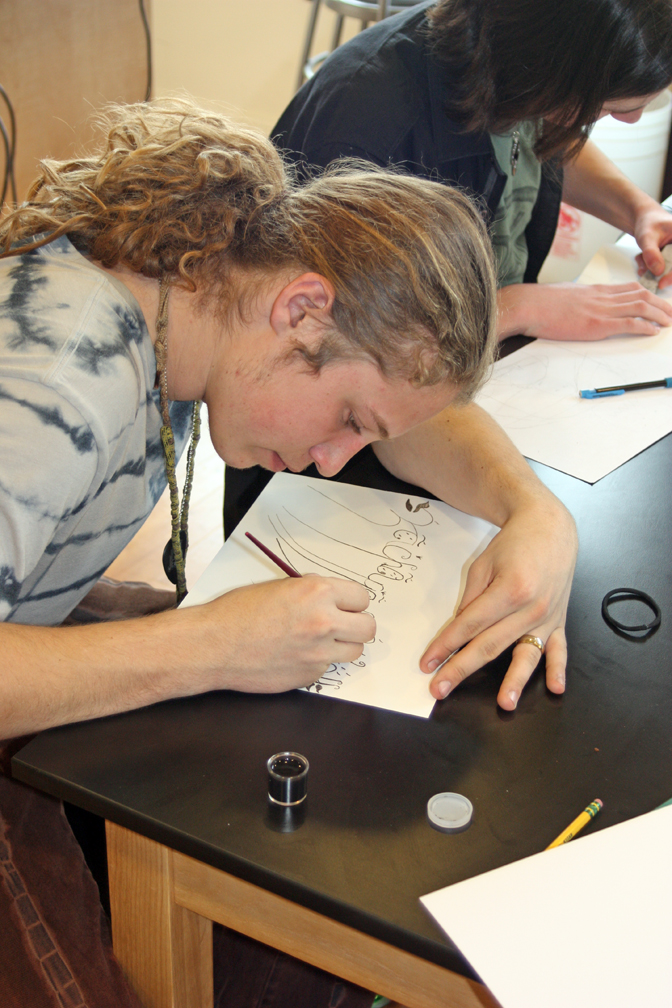
Zach practices daring Elvish calligraphy using homemade ink
Once my students create good ink, they go farther and use traditional drawing pens to create illustrations related to the history of chemistry. They pick a material to research, such as glass or steel or armor or stained glass or paper, write up its history and manufacturing, and create their own illustrations with the iron-gall ink. I am showing some of these in this blog. We’ve tried different formulas. In the Intersession Science and Art class I taught in March, we cooked the steel wool for too long in the vinegar and got too much iron (III) ions, or added too much strong tea. The result was sepia colored ink instead of dark black, as shown in the ladybug drawing.

Illustration of armor by Sebastian using iron-gall ink
Try it out for yourselves! Make sure to use uncoated steel wool. You can get it easily at a hardware store. The other chemicals are household strength and readily found, except for the gum Arabic. Most art supply stores do have bottles of this. It is a bit pricey but a little bit is all that is needed. Two bottles should be enough for a class of 30 students. You will also need some bottles or phials to store the ink (it will last a long time and can be reconstituted with water if it dries out), drawing pens and Bristol board illustration paper, which will be the largest expense of your lab.
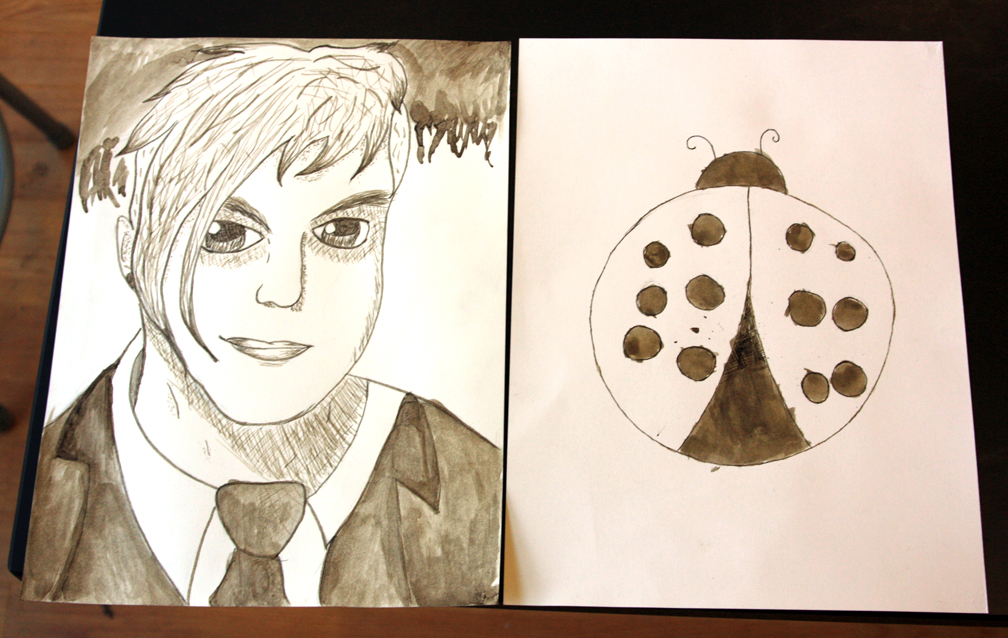
Illustrations from my Intersession class where the iron was overly oxidized and turned a sepia color.
As an initial demonstration and “hook”, I use a traditional quill pen and some parchment paper to show how it used to be done. I also demonstrate writing Chinese characters (tsz) using ink sticks, inkwells, traditional maubi (drawing brushes), and rice paper. I’m not very good at drawing tsz, but at least I can show how to hold a maubi and use ink sticks (which are not iron-gall ink – they are “India” ink based on carbon black bound together in stick form, then rubbed with water in an ink well). The “love” character shown was drawn by Miyuki, a Japanese exchange student, on parchment.
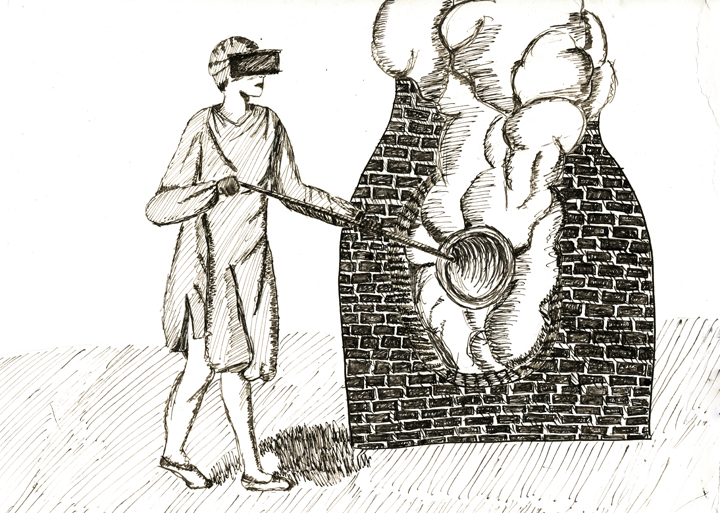
Illustration of plate glass making by Nicole
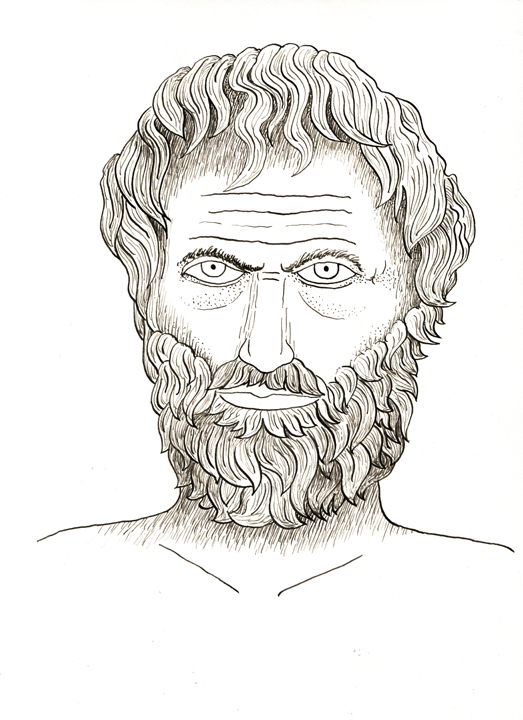
Drawing of Aristotle using iron-gall ink. I did this as a demonstration project for the chemistry students.
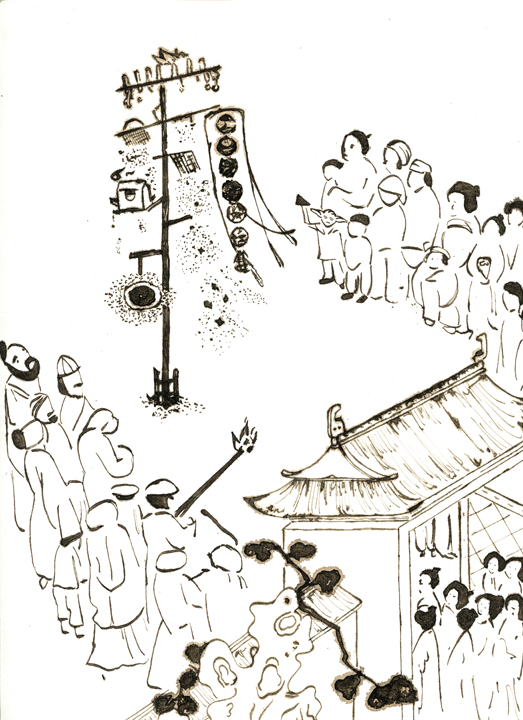
Illustration of Chinese fireworks by Richard, made with iron-gall ink
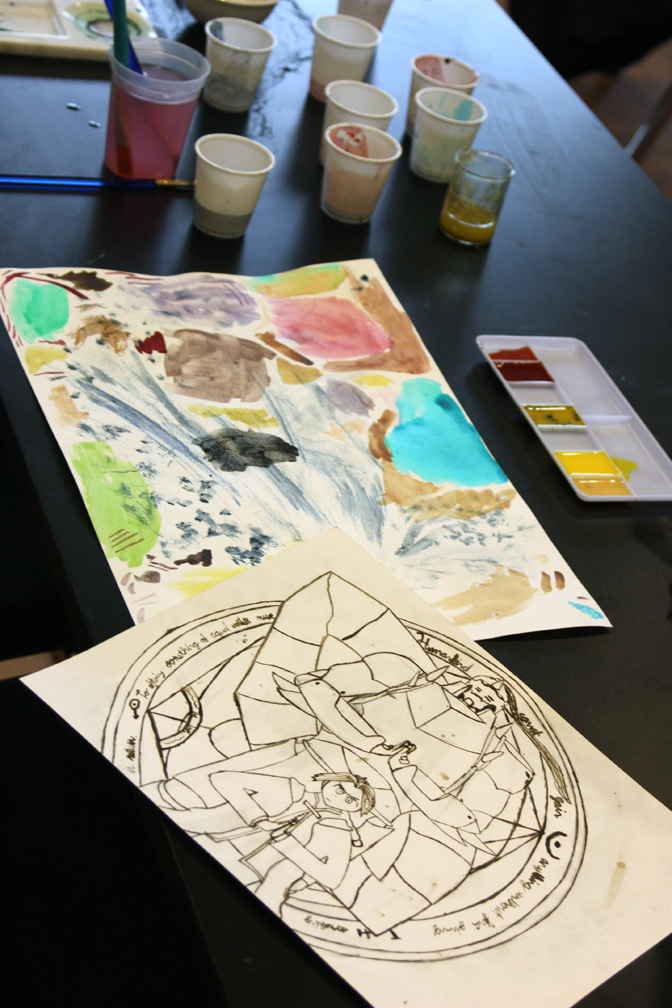
Alec’s Anime drawing. Behind it are pigments we made for watercolors. Stay tuned for that post!


