
Examples of marbled paper made with dilute oil paints floated on water.
As part of the STEM-Arts Alliance project I’ve undertaken at Walden School of Liberal Arts, I have been trying out different ways to integrate art and history into STEM subjects, such as teaching about the history of chemistry and the science behind the fine arts.
Making marbled paper
I was sent a lesson activity from Flinn Scientific a year ago on how to make marbled paper, the fancy designed paper you see on the end pages of nicely bound books. The activity seemed fun and easy to do, so I saved it. Now, as part of our project, I’ve dusted it off and tried it out twice in this school year. The first time was at Timp Lodge as a second activity to do while making tie-dye shirts (see my last post). The second time was part of a Science and Art class I did for our Intersession period, which is a two-week specialty course we do between third and fourth terms in March.

Laying paper onto the oil paint layer.
To do this, you need to buy some disposable trays such as aluminum foil pans or plastic containers. They should be a little larger than the intended size of your paper. You will also need to buy a pad of sketching paper (it needs to be nicer and thicker than copy paper). For colors, you will need to buy a set of cheap oil paints (not acrylic) in various colors, and a large container of mineral spirits to dilute the oil paints. Finally, you will need some small plastic phials or dropper bottles to store the paints in, paper towels, and some disposable eyedroppers.
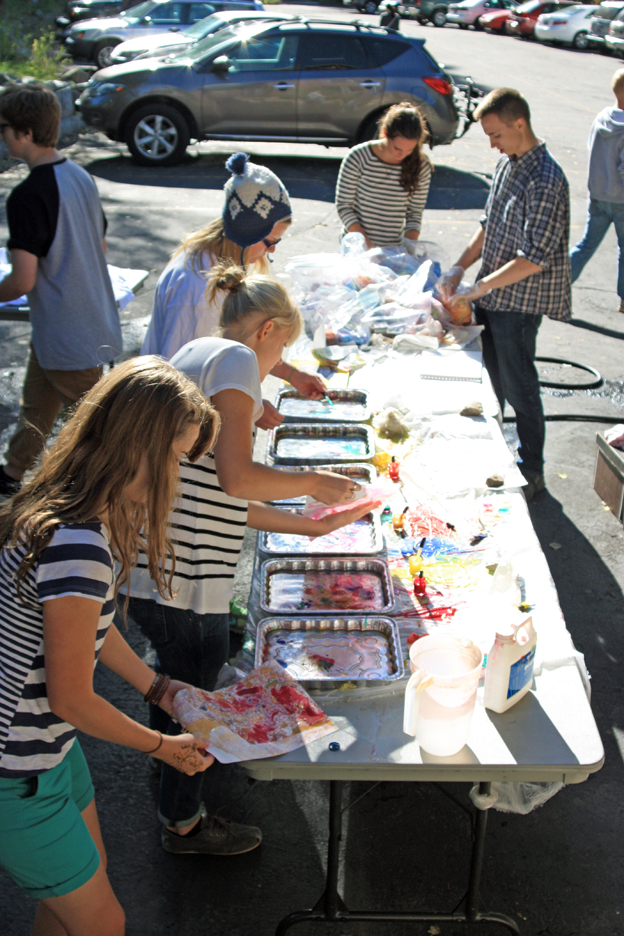
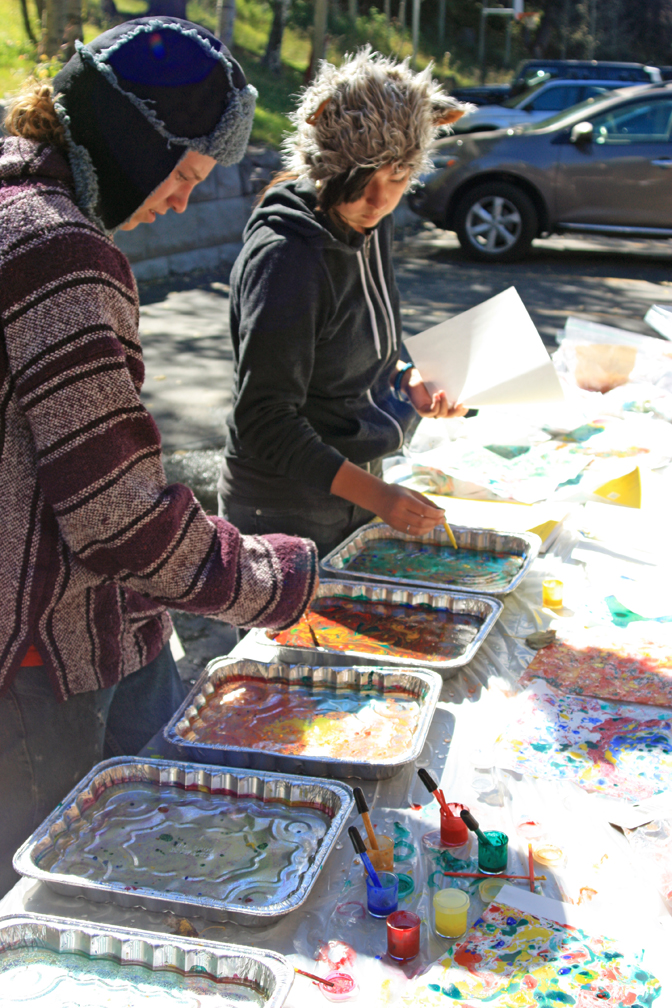
Walden students making marbled paper at Timp Lodge
To do the paper, pour about an inch or two of water into the foil pans. Take the oil paints and squeeze out enough paint to fill the phial ¼ full, then add mineral spirits to make it ¾ full. Put on the lid and shake thoroughly. Make sure the paint is completely mixed. Take various paints and drop them onto the water; the oil-based paints are immiscible with the water and will spread out on a layer on top of the water. You can swirl the colors around or not to your taste. Keep adding different colors until you get a nice effect. Then take a piece of the sketching paper and fold it along one edge to make a handle and carefully lay the paper down on the oil layer, making sure not to submerge the paper into the water as you roll it across the top. The oil layer should transfer to the paper. Carefully lift the paper straight up and quickly place it face up on paper towels to dry. Once dry, you can photograph them in good light or scan them into a computer.
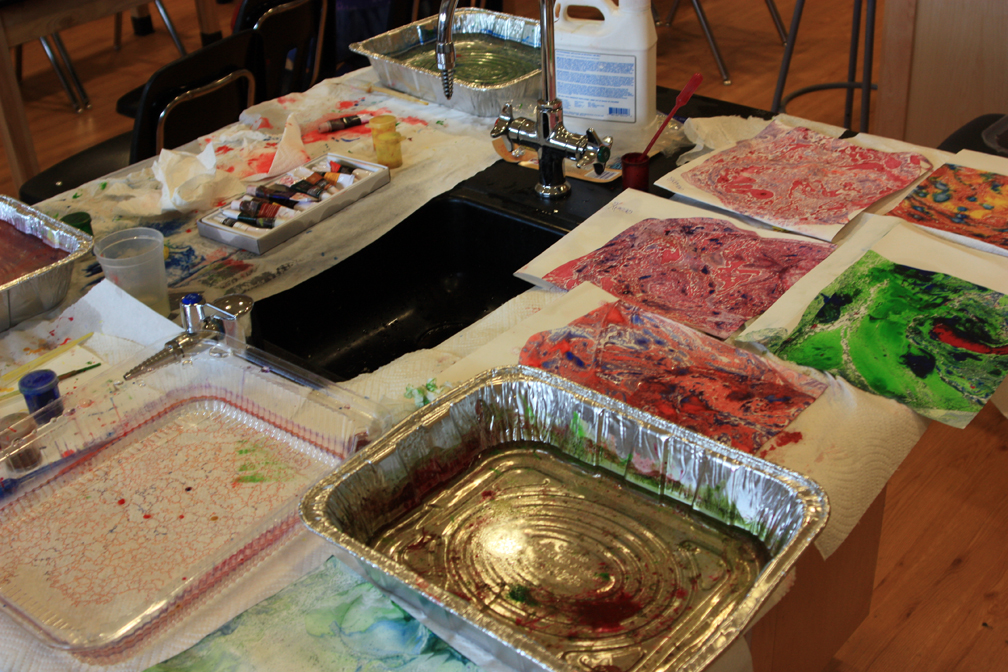
Set up to make marbled paper during my Intersession Science and Art class.
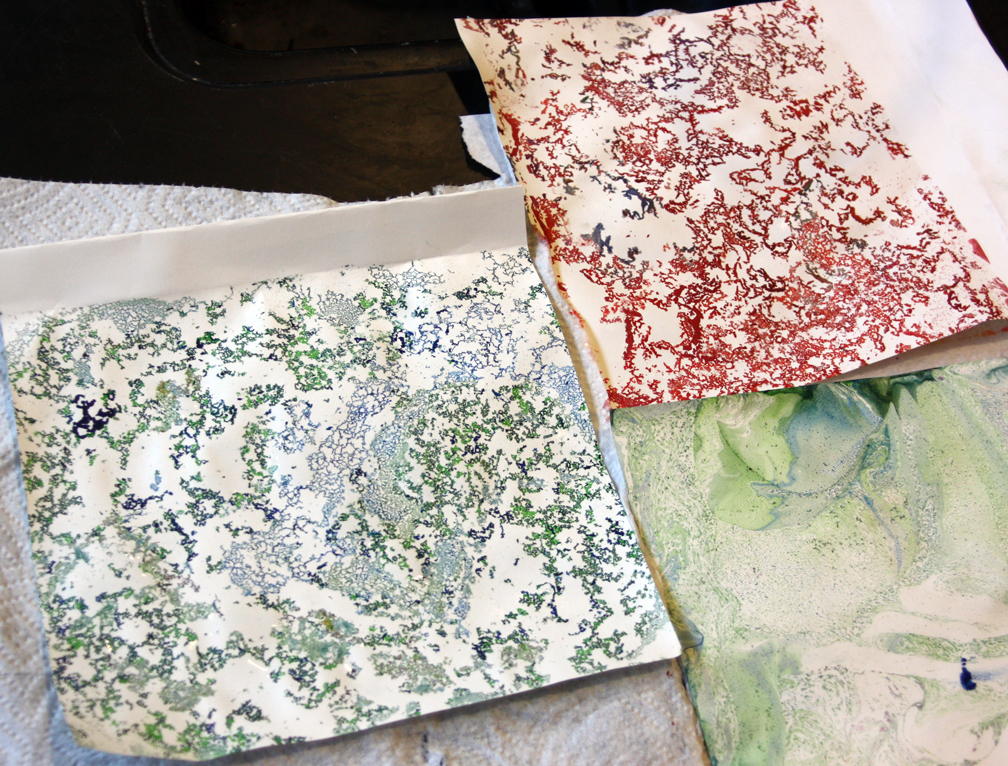
Natural fractal patterns created when the oil/mineral spirits separated from the water layer.
This project worked well at Timp Lodge and we made some good examples, although it is very messy. Students should wear aprons and gloves to do this. When we did this activity during Intersession class, we tried using the same paints several times as I had lots of paper left; you can lift out several prints from the same drops, each one getting lighter. At the end of class, a small amount of paint was still floating on top of the water. It had been sitting still for several minutes as the water stopped circulating. The paint separated into strange filamental structures that had formed into fractal patterns. So I lifted a few more prints, as seen here. Now I can scan them and use them for various multimedia projects and for examples of fractals in math classes. I didn’t anticipate that this activity had a math tie in, but there it is!
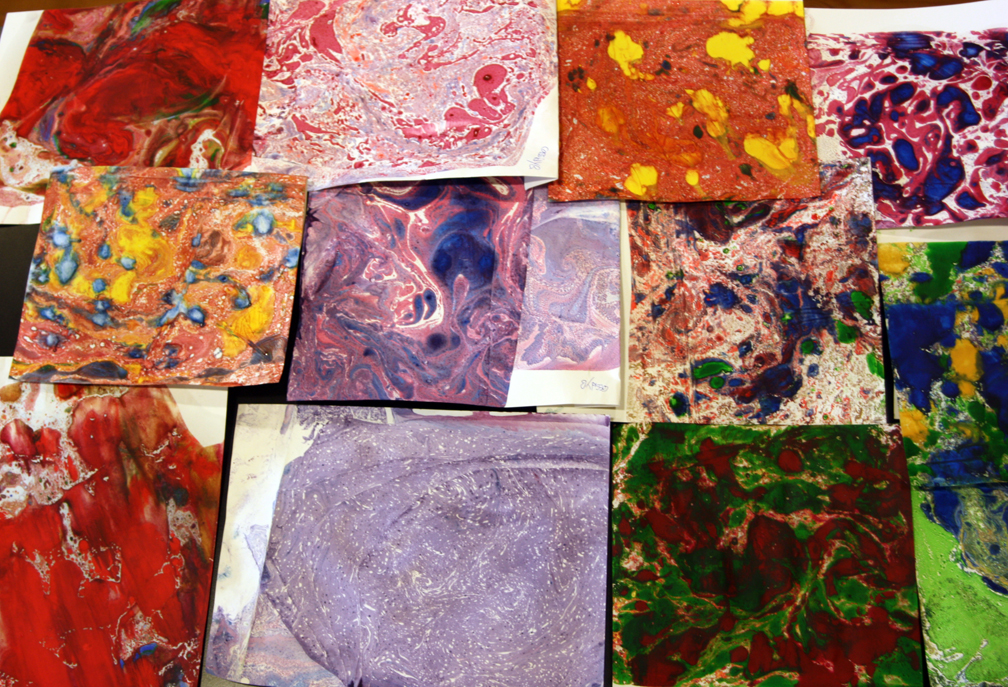
Marbled paper made during the Intersession class.
I still have enough paints and paper left to do this activity one more time, perhaps at the elementary school or at our back-to-school Science Showcase night, which will be on April 24. I think the elementary students will enjoy this very much, as did my high school students. I would recommend this as a science and art project for grades 2-12. You can talk about immiscibility, how oils and water don’t mix, and even demonstrate how detergents work. You can also let it sit and teach about fractal math patterns in nature.
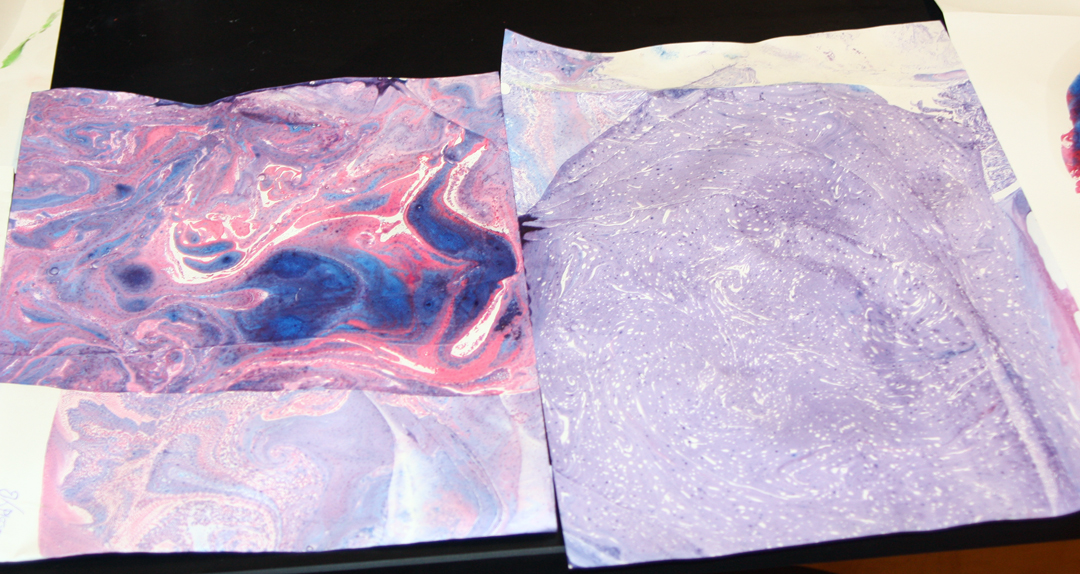
Purple marble patterns, lifted from the same paint layer.
