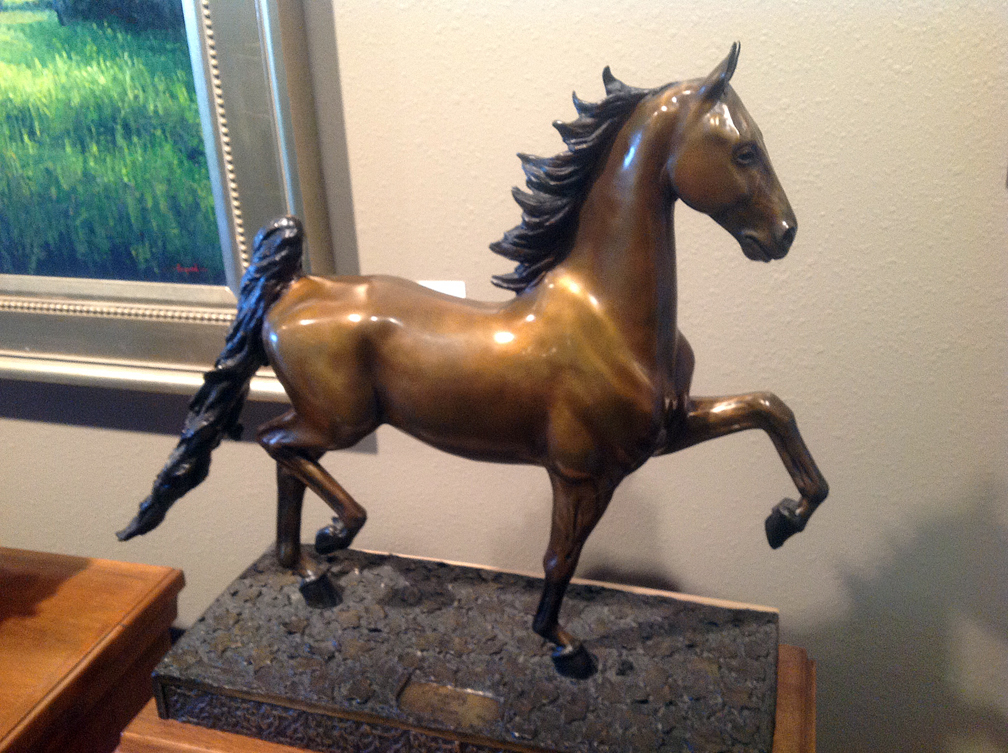
Bronze horse on display at Adonis Bronze in Alpine, Utah
As part of my unit on the history of chemistry, I wanted my students to experience an ancient art. I have written before that, in my opinion, there were three major threads that led to modern chemistry: Greek Matter theories (more on that in my next post), Alchemy, and Artisans. Some of the art forms and technologies invented during Roman and Medieval times are still practiced today in essentially the same fashion, such as stained and blown glass, ceramics, sword making and blacksmithing, jewelry, weaving and fabric dyeing, and some types of metallurgy.

Hoop Dancer, a bronze statue on display at Adonis Bronze
We have some newer tools and a better understanding of how matter works, but in many cases the old techniques haven’t changed much. For example, a glass blower from the Middle Ages would have no problem working in a modern workshop. We have better heating sources for the glory hole and annealing oven, can use a blowtorch to keep areas hot, and have substituted wet newsprint for the smelly leather they used to use. But that’s about all that’s changed.
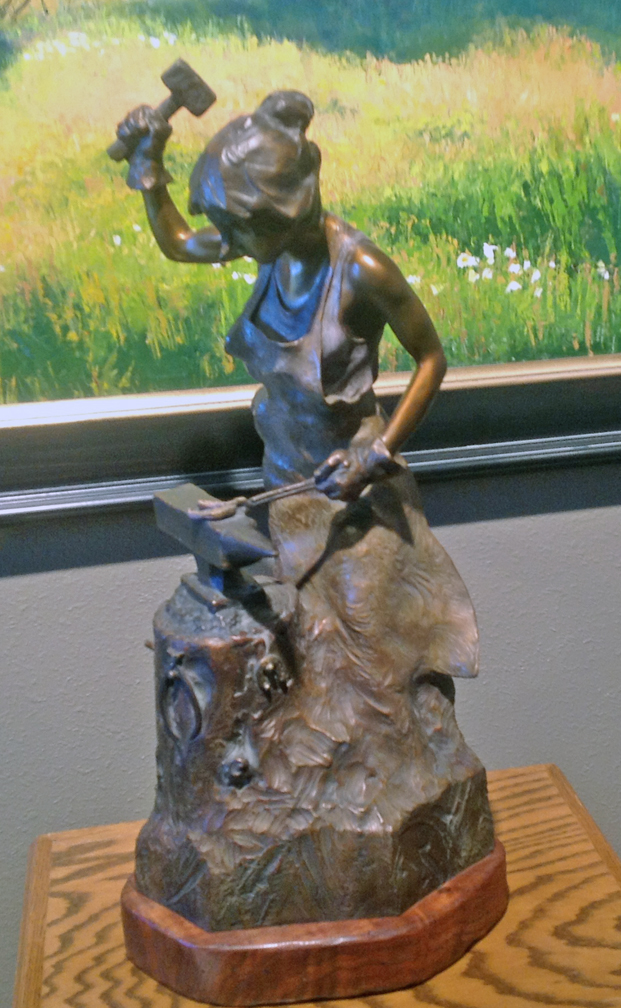
Blacksmith statue at Adonis Bronze, made with the lost wax technique.
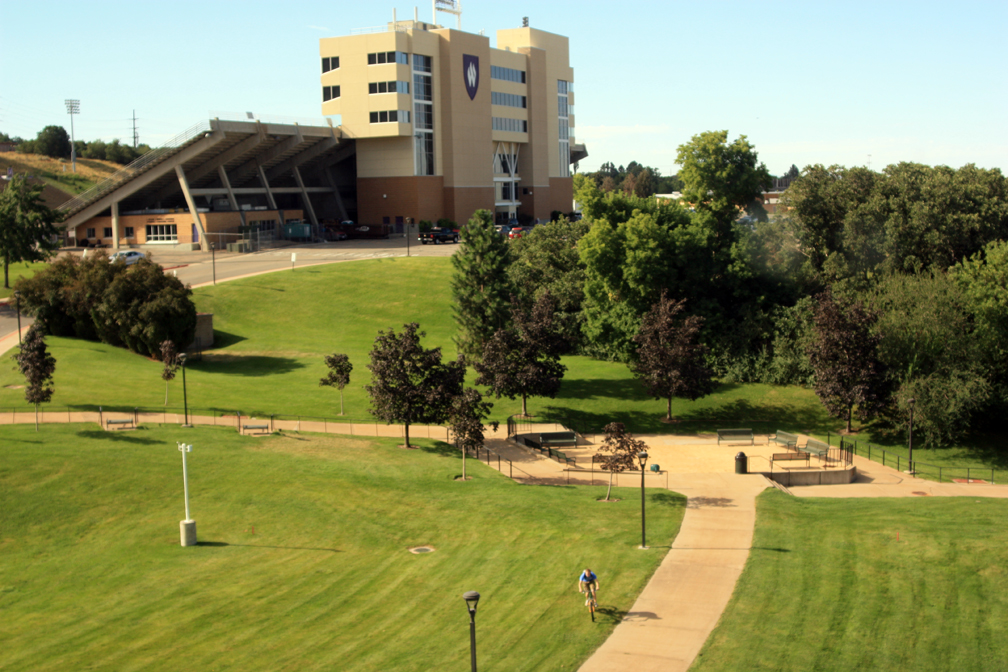
I did some searching and found there were several workshops in our area that do bronze casting using the lost wax technique known from antiquity, with a few modern additions. I arranged for my chemistry and 3D modeling students to tour Adonis Bronze in Alpine on Friday, Nov. 7, 2014.
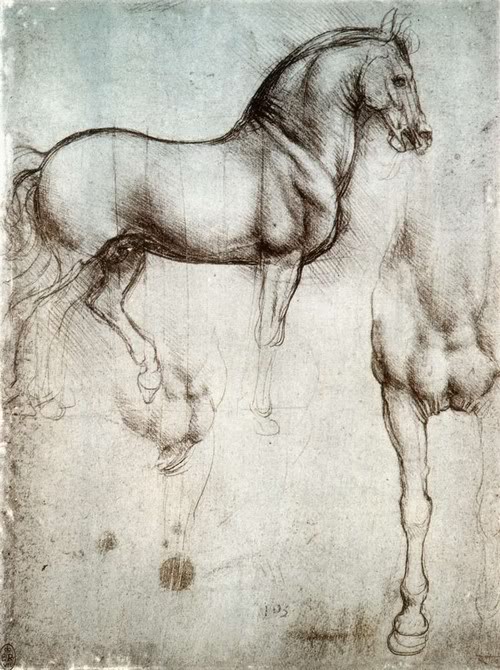
Sketches of horses by Leonarda Da Vinci in preparation for creating the bronze horse.
Students were prepared by discussing how the lost wax technique works and giving examples, such as Leonardo Da Vinci’s huge bronze horse for the Duke of Milan, Ludovico Sforza, that was never finished. He had devised a method for making the horse in a single bronze pour, and he drew extensive sketches. He even made a full-scale clay model of the horse which stood 24 feet high. He was collecting the bronze for it when war broke out; the French invaded northern Italy and attacked Milan in 1499. The Duke was forced to melt the collected bronze down into cannons, but the French still won. They used the clay horse model for target practice.
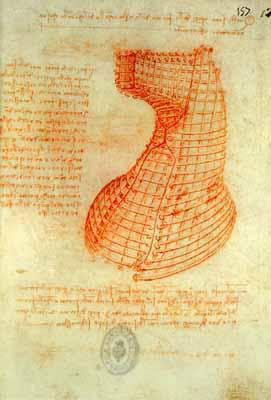
Da Vinci’s sketch for how he would pour the bronze.
A 1977 National Geographic article on Da Vinci included sketches of the lost horse, and a retired American airline pilot named Charles Dent dedicated his art collection to the project. A foundation was created and an artist named Nina Akamu was hired. She used Da Vinci’s original sketches to create a new plan for the horse. Billionaire Frederik Meijer helped to fund the project, and two full-sized horses were cast in 1999, 500 years after the original was supposed to be done. One is at an outdoor museum in Grand Rapids, Michigan and the other stands outside the racetrack in Milan. A smaller scale version is located in Allentown, PA, the home of Charles Dent.
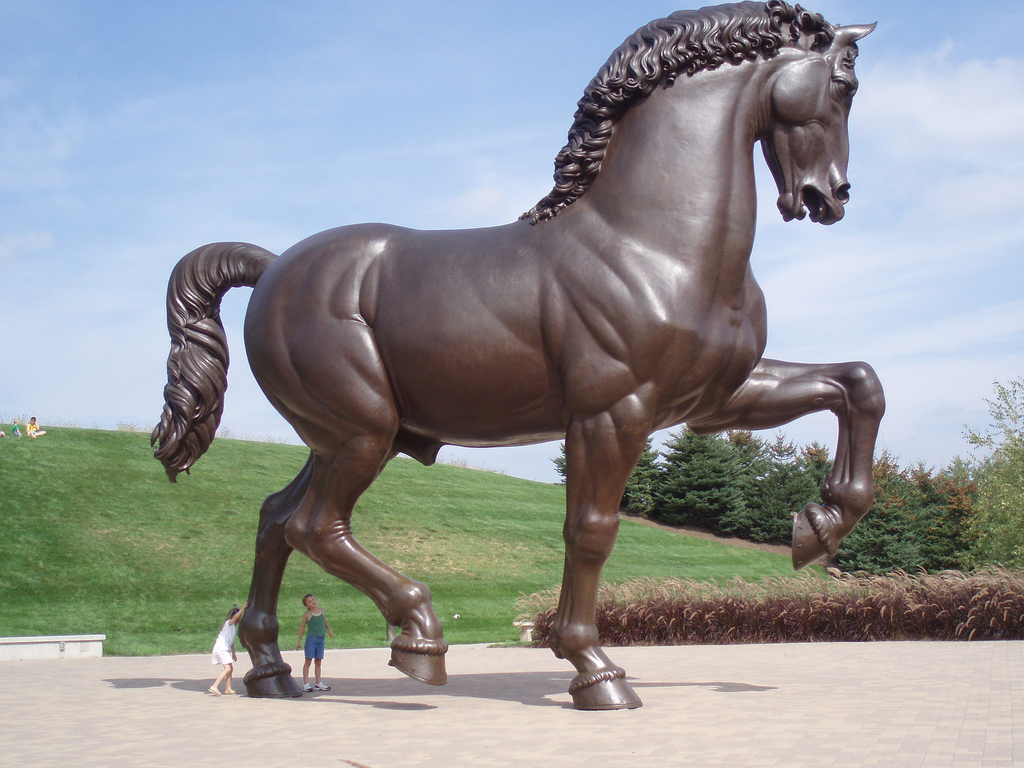
Completed horse statue in Grand Rapids, MI
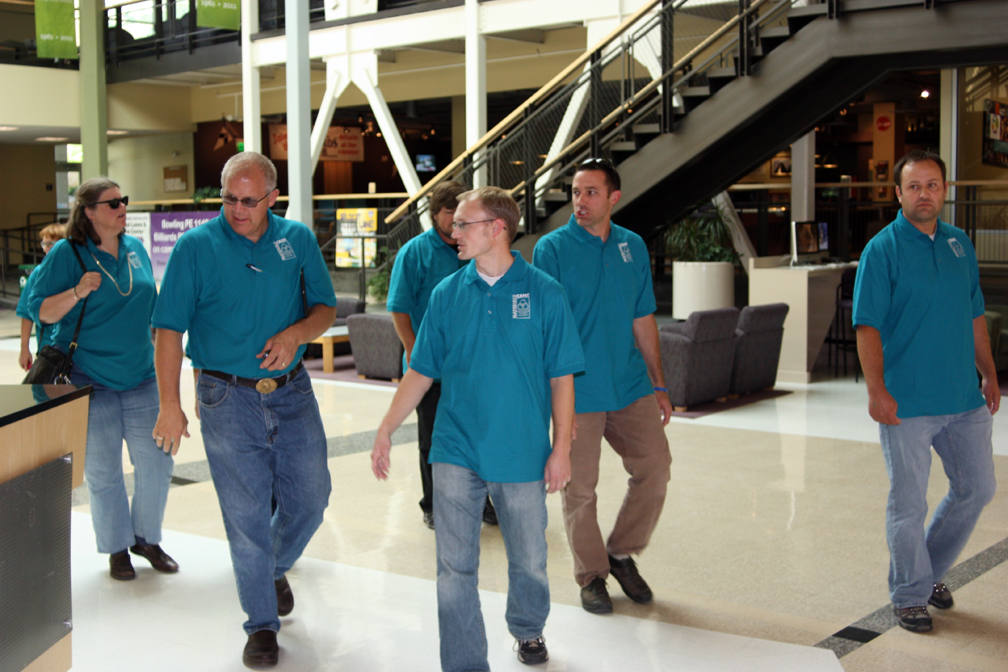
We carpooled up to the foundry and began in their main exhibit hall. We divided up into groups, and I handed out cameras to each group so we could record everything and eventually make a video.
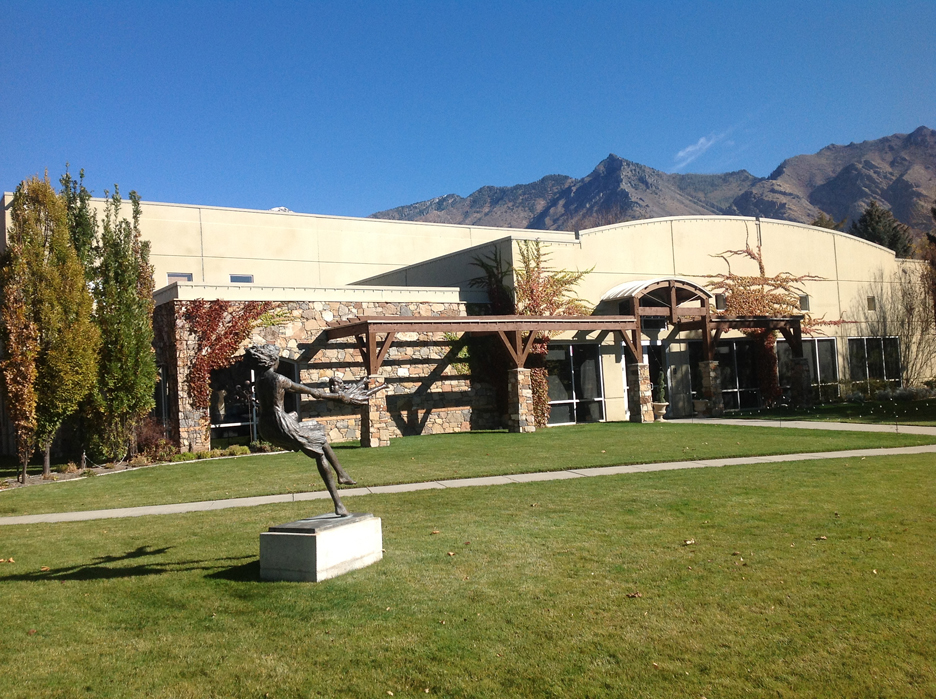
Adonis Bronze foundry in Alpine, Utah
The modern version of the lost wax technique has quite a few steps. First, an original model is built out of oil-based clay over the top of an armature, or wire frame. For larger sculptures, a smaller model is created then scanned digitally into 3D. It is scaled up on the computer, then a physical version is cut out of foam using a 3D milling machine.

Yours Truly being attacked by a dragon. It was modeled in 3D on a computer and cut out of foam with a milling machine at Adonis Bronze
Sometimes the foam model is all that is needed. For example, at last summer’s Fantasy Con in Salt Lake City, a 30-foot tall dragon was built out of foam pieces and assembled and painted. The dragon was designed and cut here at Adonis Bronze. They also made large swords and shields and other display pieces, some of which were in the hallways here.
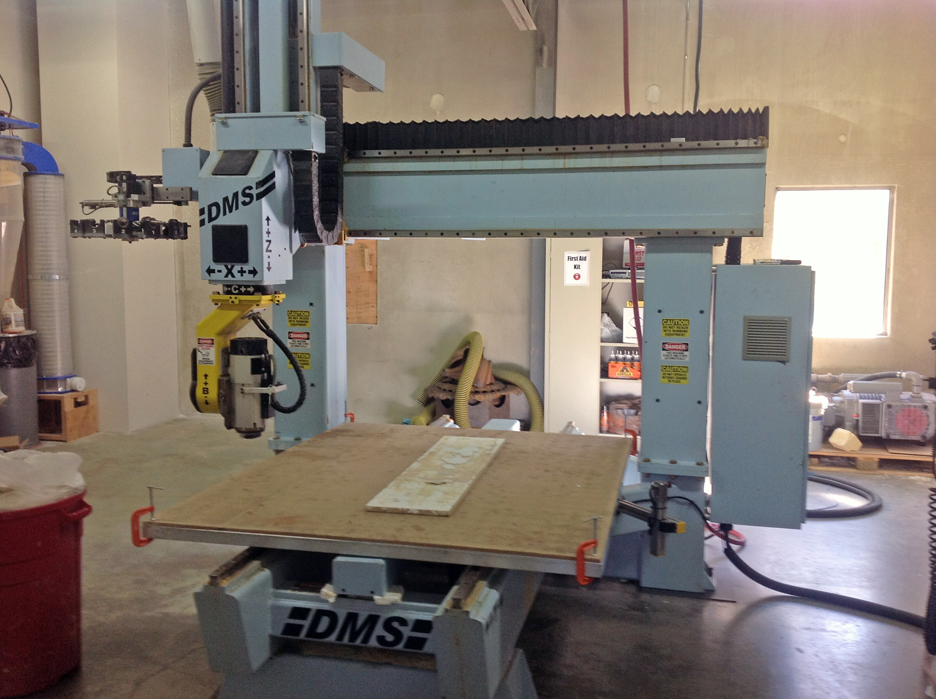
Foam milling machine used to cut the pieces for the dragon.
Once the original model is done, it is coated in a silicon rubber gel to make a negative mold. That gel, colored blue, is coated in plaster to reinforce it.
Clay sculptures used as original molds for the bronze statues.
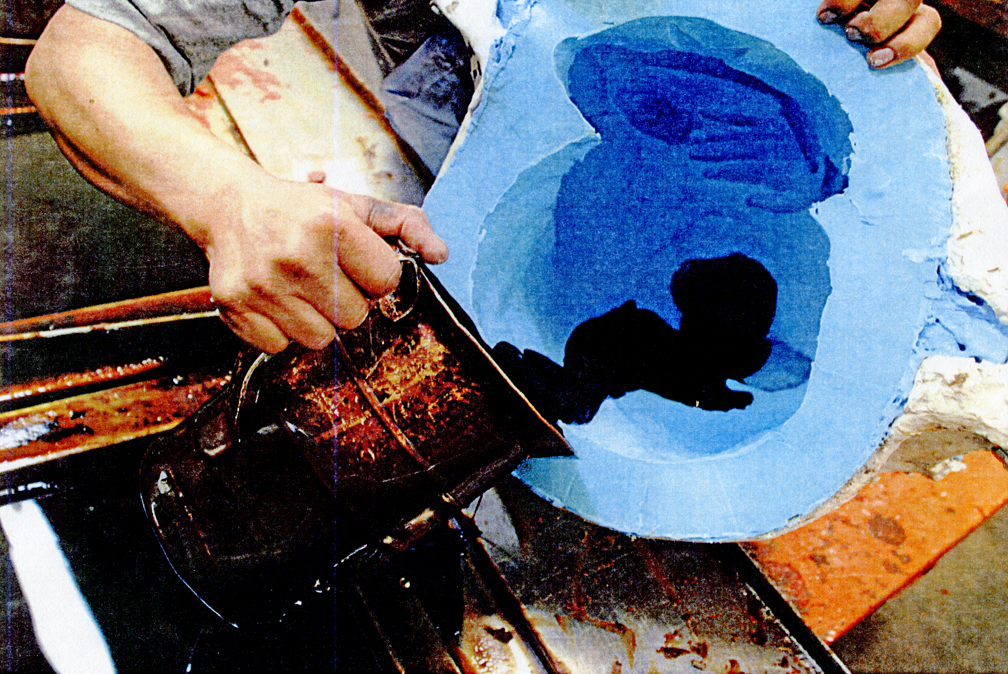
A reddish-brown colored wax is melted and kept bubbling in vats. It is scooped up with metal pitchers and poured carefully into the silicon mold to coat the inside and make a thin layer. The final bronze statues are usually not solid, as that would take too much bronze. They are usually less than ½ inch thick.
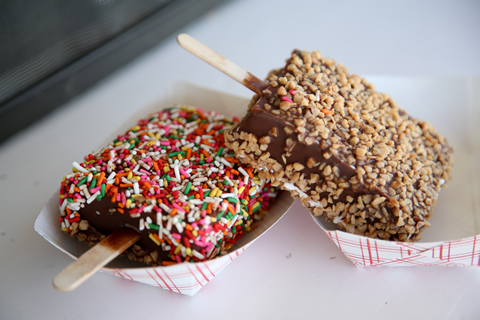
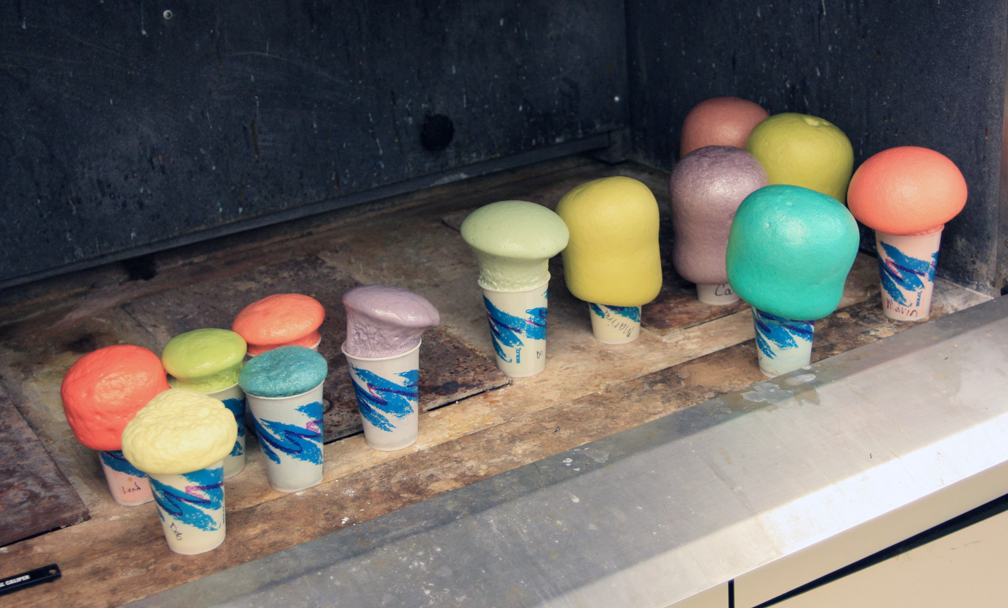
Balboa Bars – vanilla ice cream dipped in melted chocolate and dipped in nuts or sprinkles.
The flexible silicon is then pulled away from the wax positive. Any imperfections are fixed and wax cups and sprues (spouts or channels) are added to direct the flow of the bronze to all parts of the mold. The silicon molds are stored for future use in case extra copies of the statue are needed.
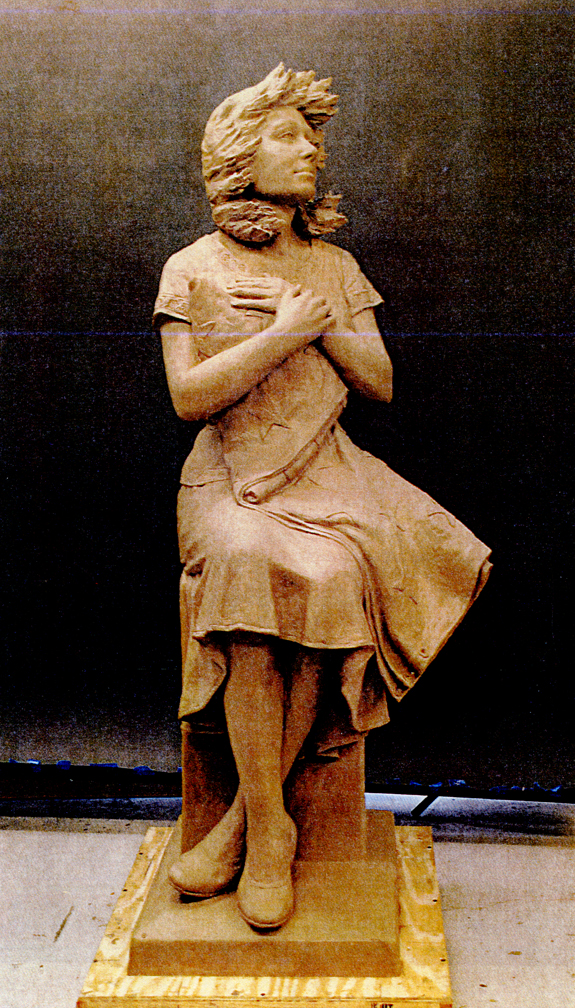
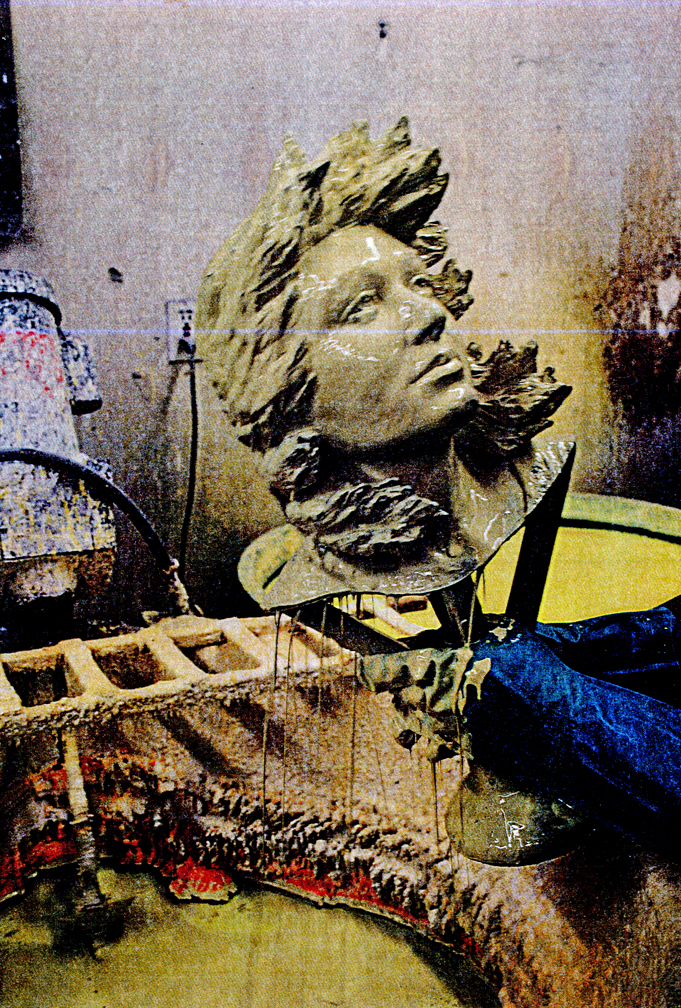
Clay model for Wingless Victory statue.
To create another negative mold that will hold the hot bronze, the wax positive is dipped into a thin ceramic slurry which coats the outside and inside of the hollow pieces. The slurry-coated wax is then dipped in sand. The sand pot has air blown up through it so that the ceramic slurry can be quickly inserted and coated.
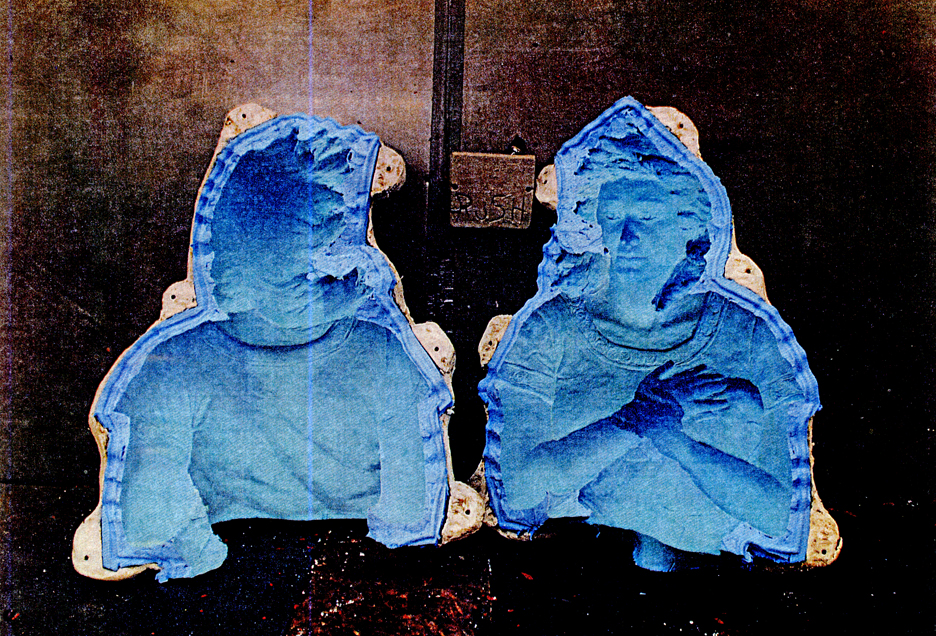
Silicon rubber mold for Wingless Victory
It’s kind of like making a Balboa ice cream bar at Balboa Beach in southern California. There, a chocolate or vanilla ice cream bar (like the wax positive) is dipped in a chocolate coating, then immediately dipped into nuts or sprinkles while the chocolate is still liquid. Here, the wet slurry is dipped into sand, then dipped into liquid cement and allowed to dry. This ceramic/cement negative mold is hard enough to withstand the hot bronze without cracking. Vents are also added so that air can escape as the bronze is poured in.
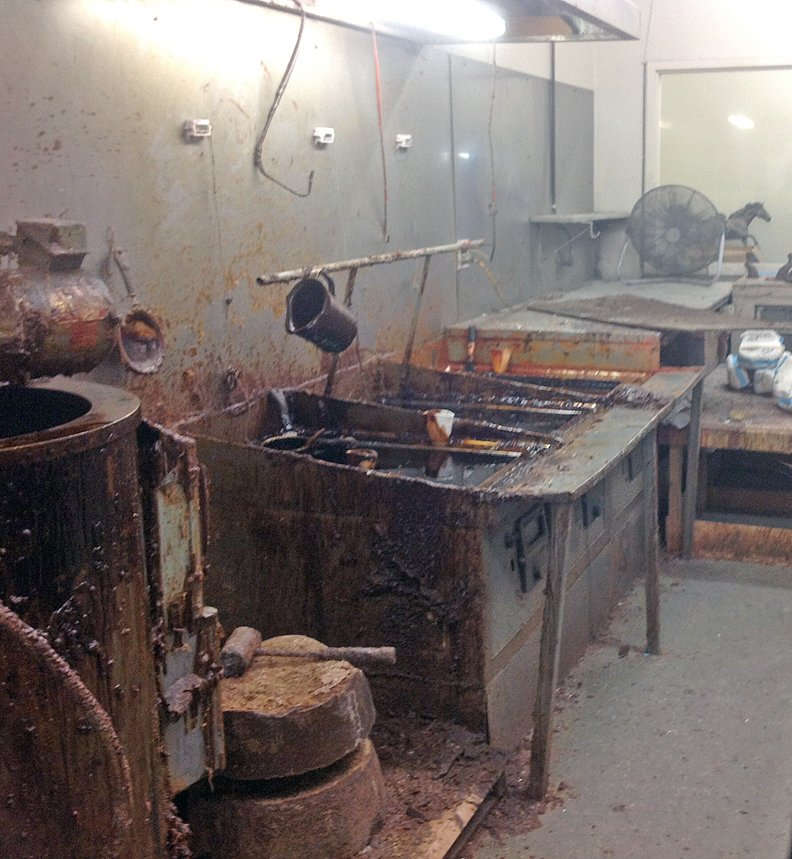
Vats of melted wax ready to pour into silicon molds.
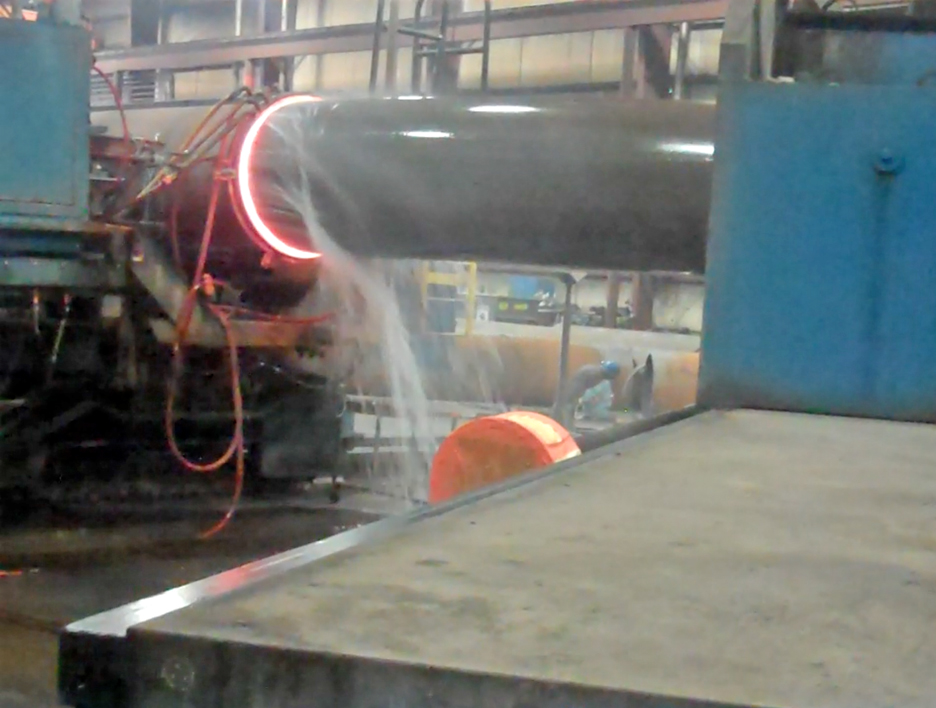
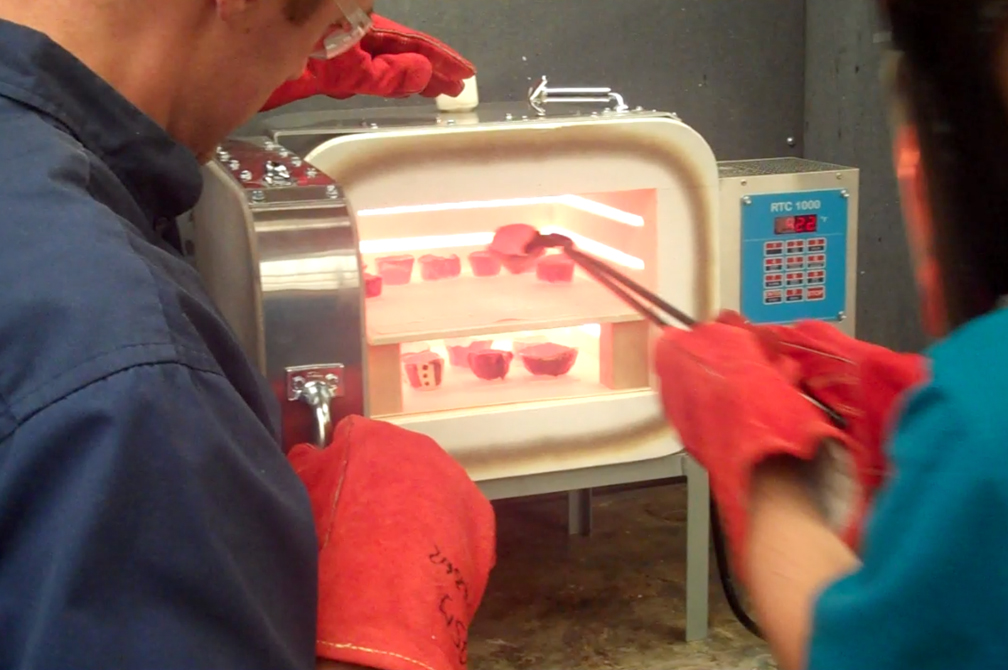
The molds are placing upside down in an oven and heated to melt out the wax, which is collected and re-used. This leaves a hollow area for the bronze. The molds are then placed into a kiln and heated to the temperature of the molten bronze, about 2100 ° F (1200 ° C). The bronze is melted in a blast furnace inside a balanced crucible. The bronze casters wear thermally insulated suits and carefully pour the bronze into the heated ceramic/cement molds.
Pouring hot wax into the silicon rubber mold.
Once the bronze and molds cool, the mold is broken off and the bronze pieces are “chased” – the cups and sprues are cut off along with any extra bronze that might have leaked around the edges of the mold.
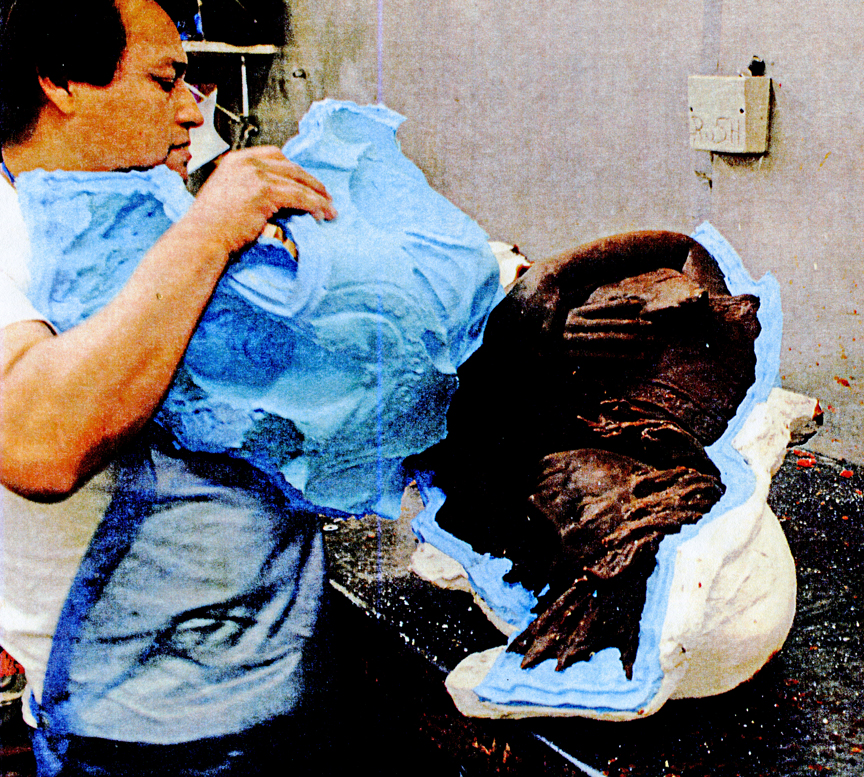
Removing the silicon rubber from the wax positive.
If the statue is large and made from separate pieces, the pieces are then assembled together using welding torches and metal staples. Sandblasters are used to smooth the seams and staples so the surface appears continuous.
Wax mold after chasing, with the halves of the mold combined and cup and sprues (distribution channels) added.
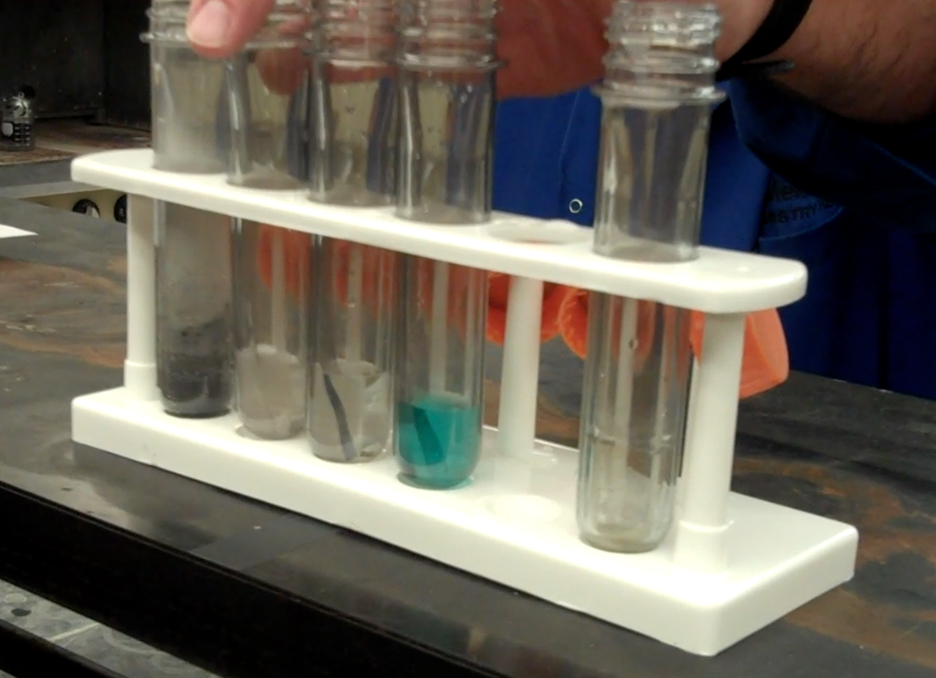
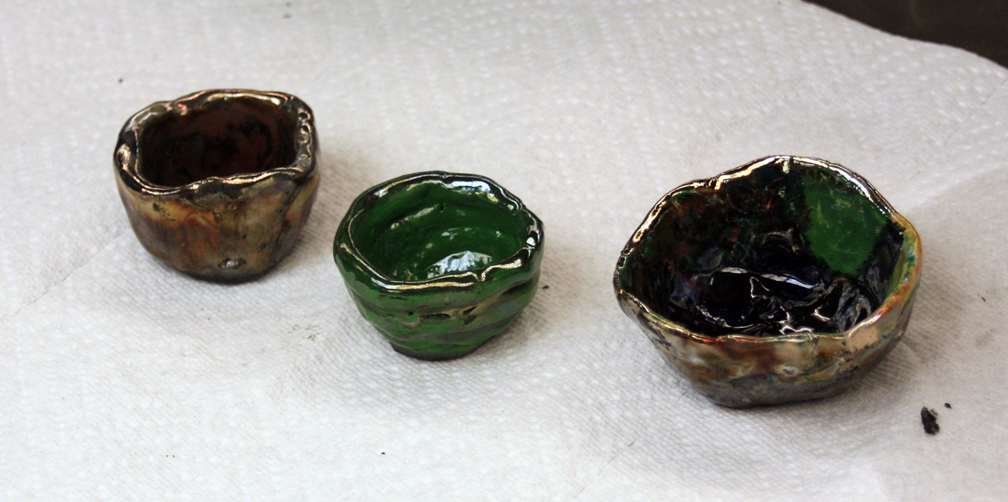
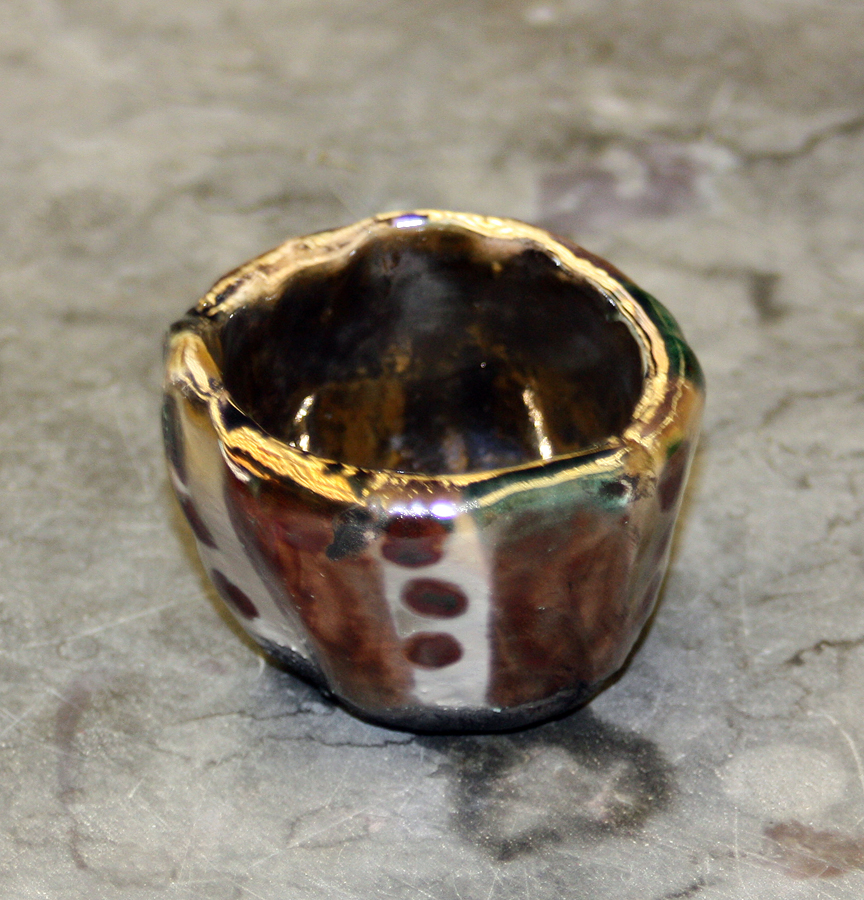
To get the right finish and colors in the bronze, the statue is sent to a room where chemicals (acids, bases, finishes, etc.) are added to create a desired color. Sometimes the color is created by heat treating – the bronze, which is an alloy of copper and tin, will take on a range of purple and red hues simply by heating areas to just the right temperature with a blow torch. The final coloration is called a patina. The surface is then waxed to preserve it from oxidizing.
Coating the wax with a ceramic slurry to make a negative mold.
The final step is to add a base, usually of wood or marble, then prepare the statue for shipping and display.
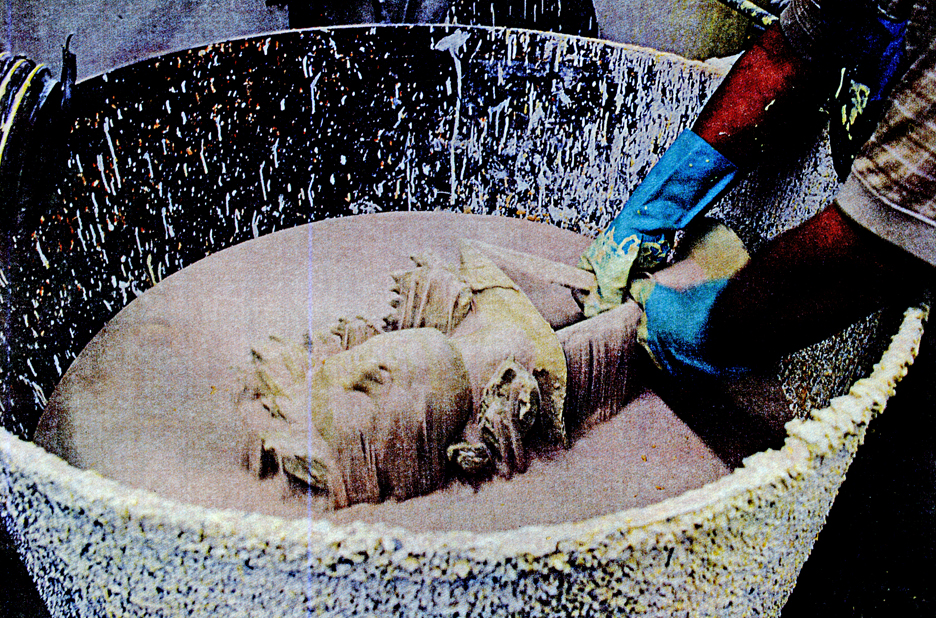
Coating the slurry in sand. Air is blown up through the sand to make it easier to coat the slurry quickly.
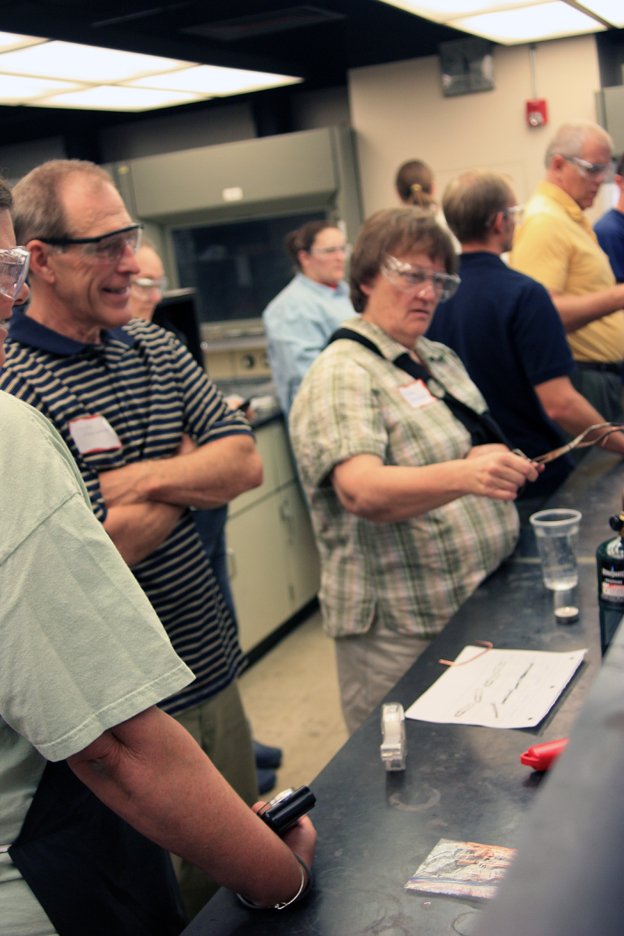
It was a fascinating tour. I asked many questions, and got some great things on tape. They were not doing a bronze pour today, so at some point I need to get back to videotape that. They were nice enough to give me a packet of photos showing a statue of a woman going through the entire process. I scanned the photos and created a Powerpoint slideshow, which I am linking to here: Adonis Bronze slideshow-s
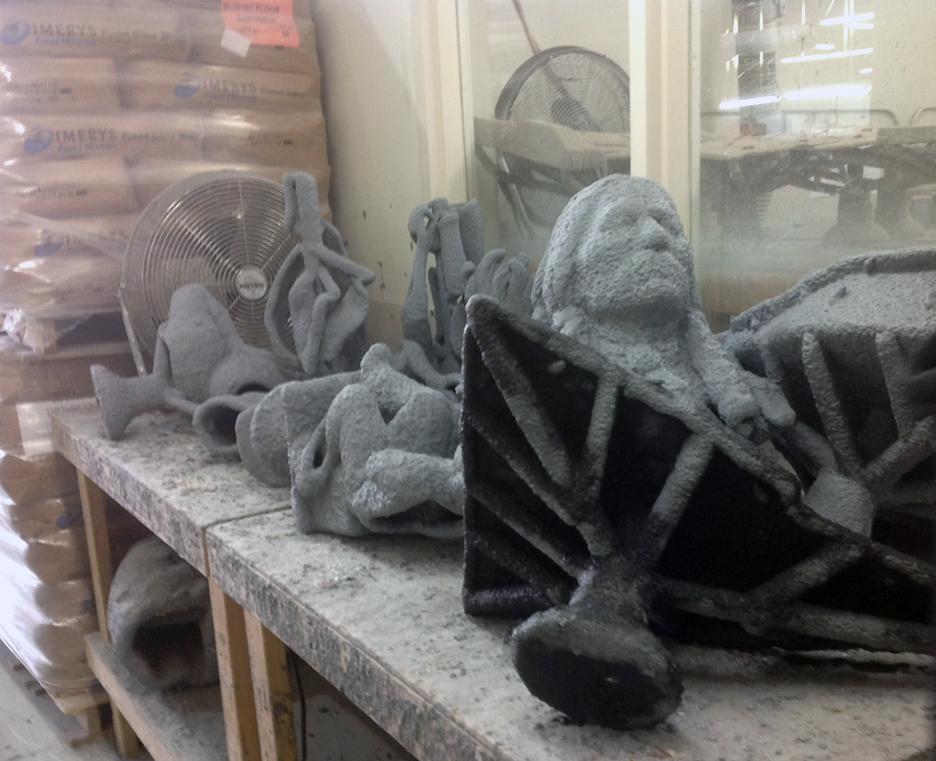
Cement-sand-clay slurry casts with wax inside. Notice the sprues that distribute the bronze once the wax is melted out.
I am amazed at how many of these steps haven’t really changed from Da Vinci’s time (or earlier – some examples have been found in Israel that date to 3700 BCE). He did not have silicon rubber to make the negative mold from the clay, and so a direct technique was used. A core of clay was dipped in wax and the wax carved into a final shape.

Melting the wax out of the mold. This is the “lost wax” step. It leaves a hollow for the bronze to fill.
Sprues were added and the whole thing buried in a compacted sand pit with drains in the bottom. The wax was melted out by heating the sand from the sides or underneath, leaving a clay core supported by rods and a hollow negative space surrounded by hot sand. The bronze was then poured in, allowed to cool, and the whole statue dug out and filed and polished to its final shape. How Da Vinci would have accomplished this with a 24-foot high horse is beyond me.
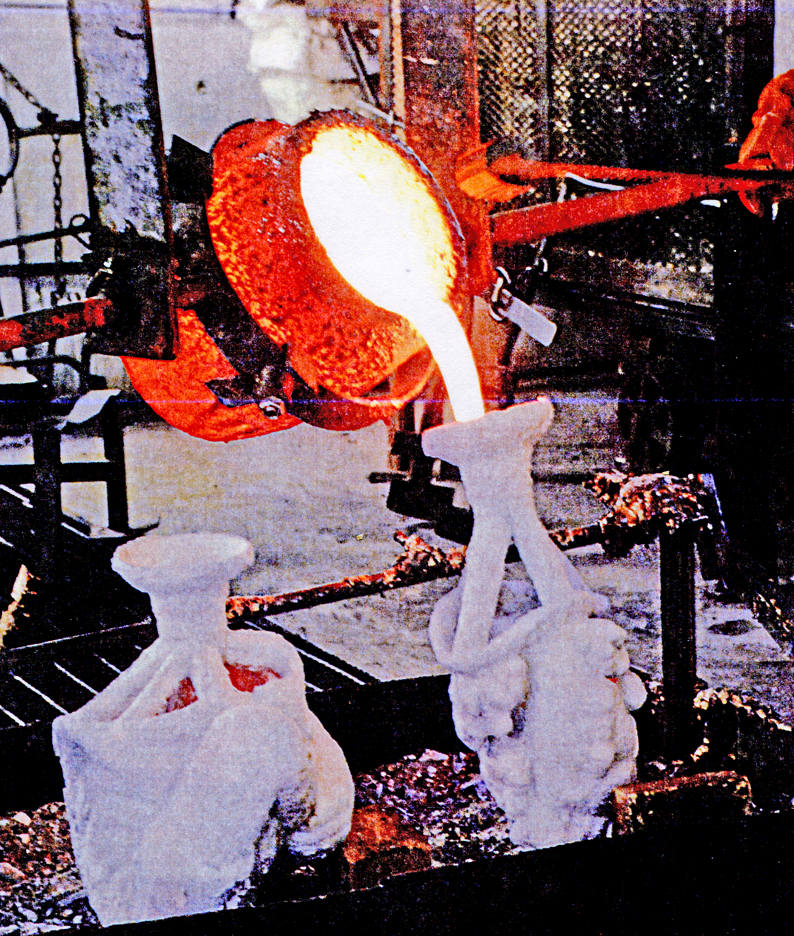
Pouring the molten bronze into the pre-heated ceramic/cement molds.
At some point I hope to find a way to duplicate this process on a small scale using pewter or another alloy with a low melting point. I know small heated crucibles are available to melt pewter. Now all we need is a way to re-create the lost wax technique to make the molds.
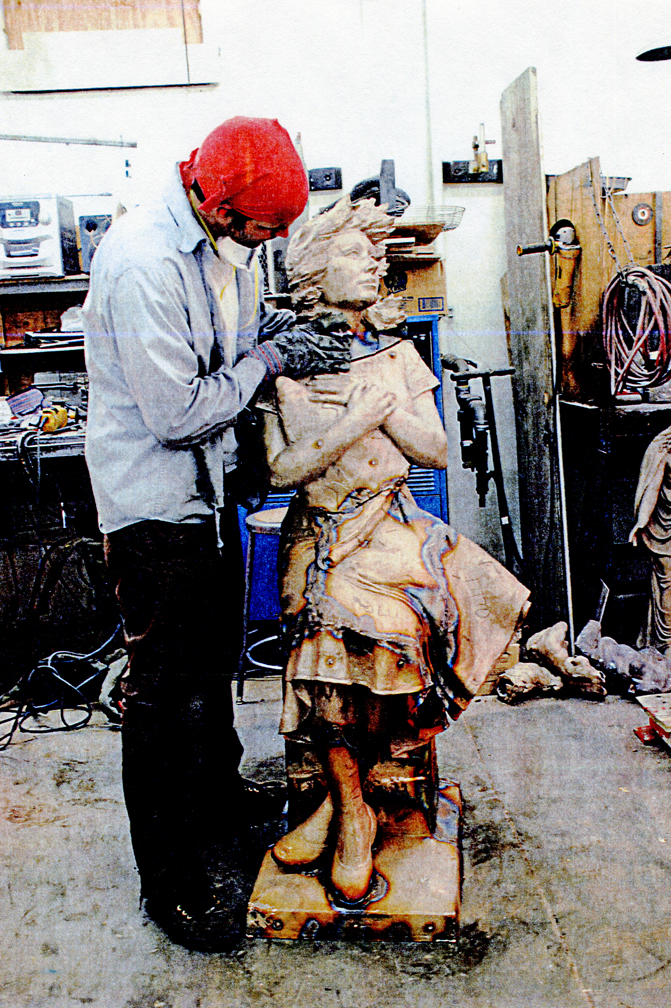
Assembly of the Wingless Victory statue. Large pieces are welded and stapled together, then smoothed and sandblasted to remove seams.
Perhaps we can carve the sculptures out of wax and coat them with plaster-of-Paris, then melt out the wax. We would have to be careful to not dehydrate the plaster. Or perhaps the molds could be made with wet clay and fired, then filled with metal. It would be a challenging project. If anyone has done something like this, please let me know.
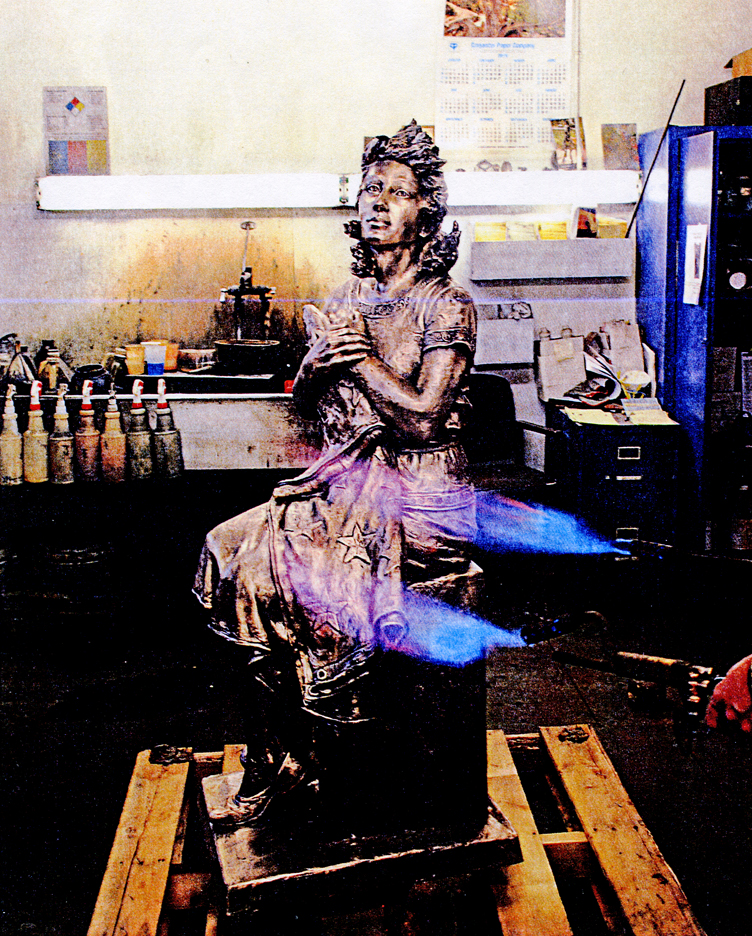
Acids, bases, metal salts, and heat are used to create different colored patinas on the surface.
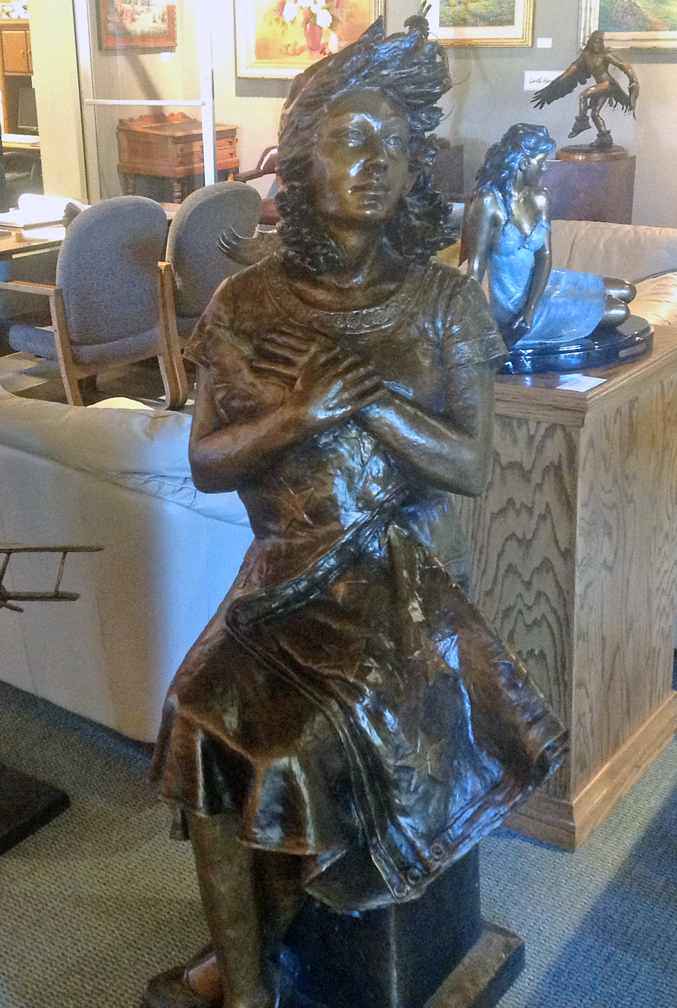
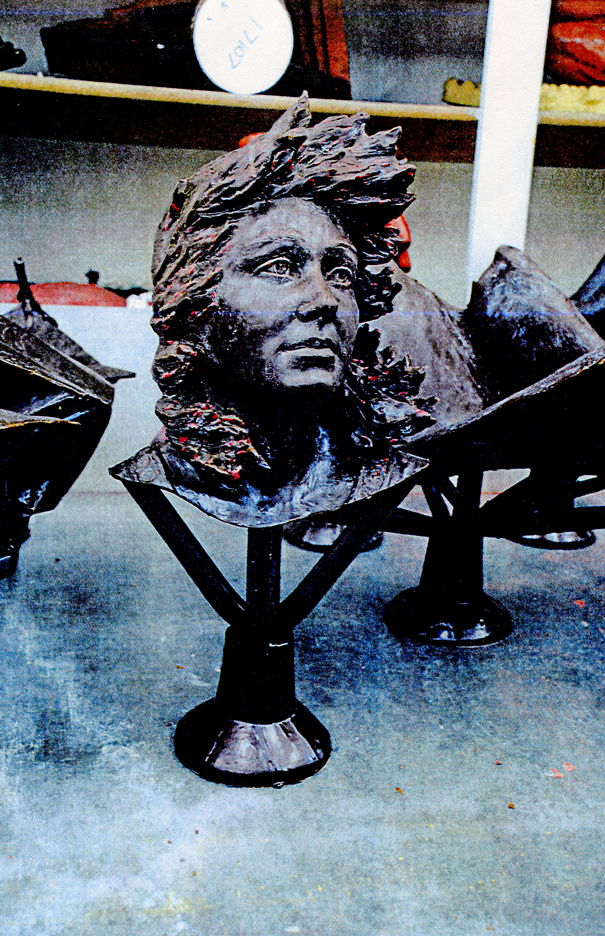
Wingless Victory on display in the showroom at Adonis Bronze

Feather dancers, a statue on display in the showroom of Adonis Bronze.
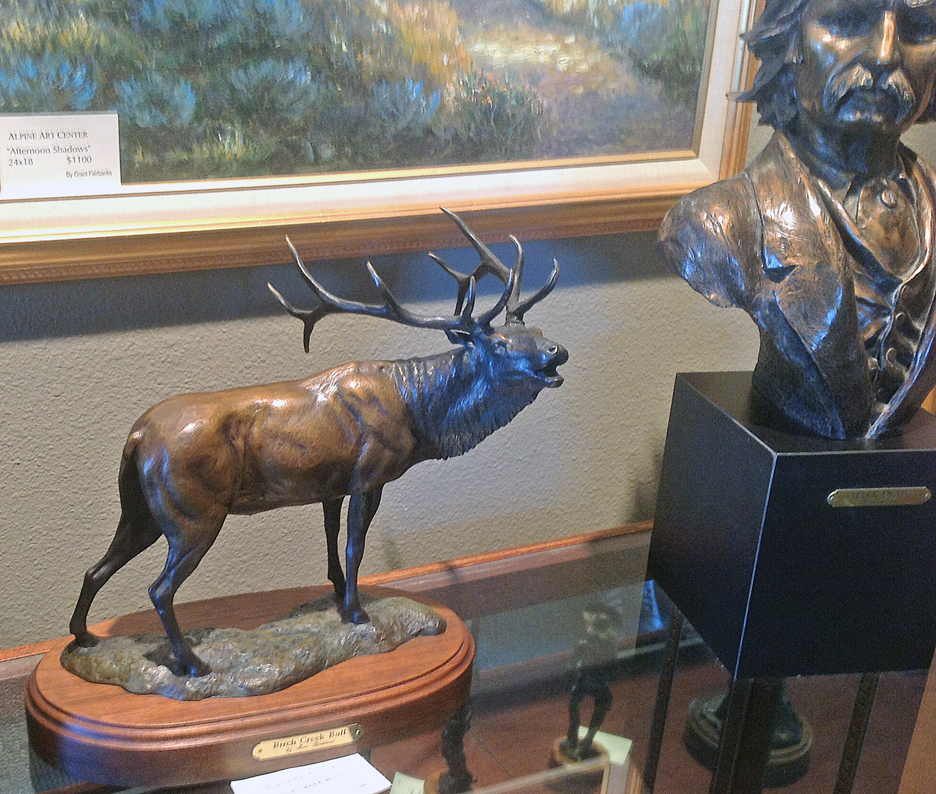
An elk and Mark Twain. Notice the differences in the patina colors on the elk.

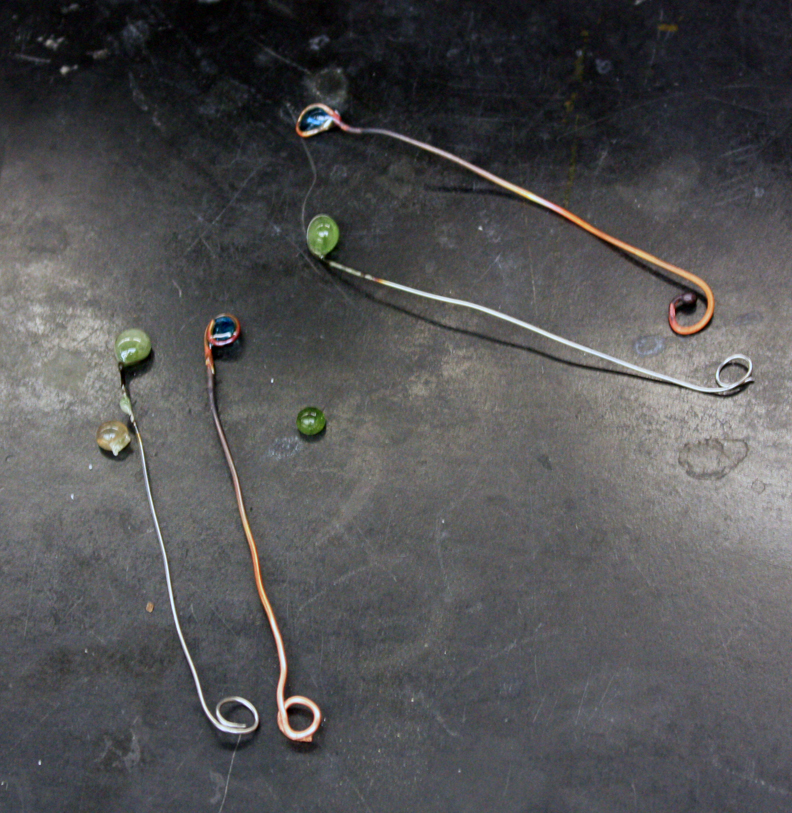
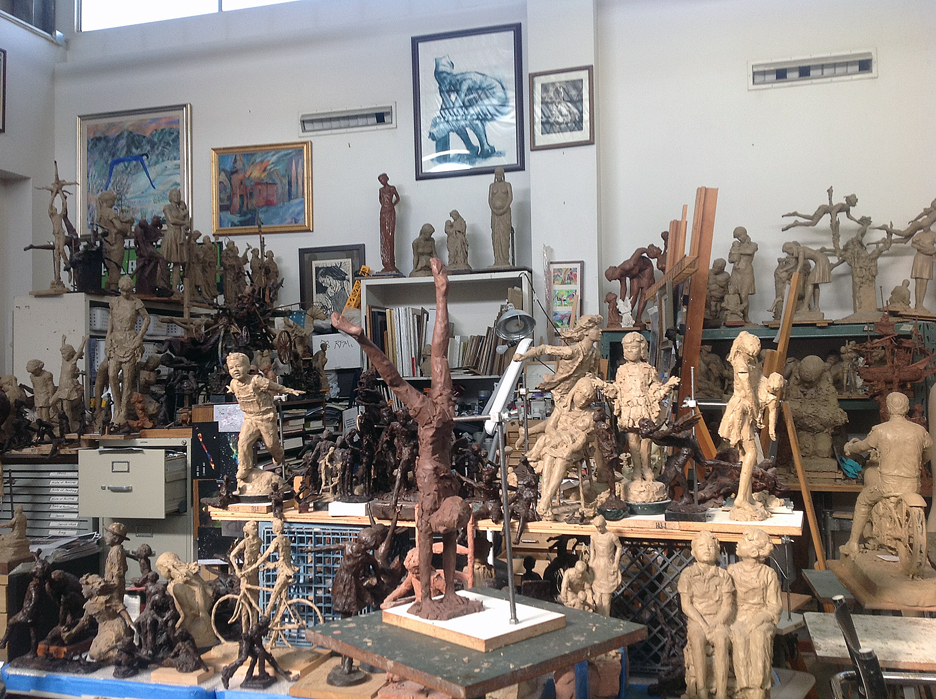
Other clay statues. They are built around a wire and metal rod armature.